Creation of the Whole Tool
Presentation
Creation and positioning of the tool. |
This function is the second stage of the creation of the tool you need to machine.
The first stage (Cutting Profile of the Tool) enables to calculate the cutting face of the tool relative to the shape to machine.
Then, this second stage defines the side taper angle and the positioning of the tool and generates the geometry useful for 4 axes machining.
To create the tool
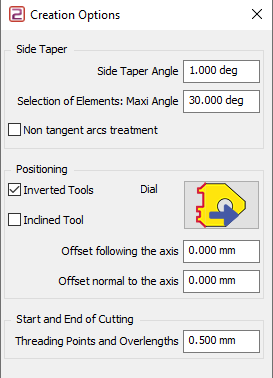
1. Fill the parameter of the dialog box:
Side Taper : It is useful to eject chippings.
|  |
Here is our example calculated with different parameters values: | |
Max Angle = 30° ; Non tangent arcs : No 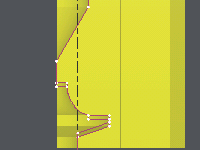 | Max Angle = 70° ; Non tangent arcs : Yes 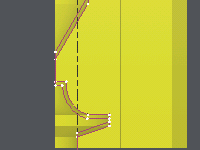 |
Positioning :
| |
Start and End of Cutting : You can define overlengths at each extremity of the profile. Enter the distance needed. Automatic threading points are created perpendicularly to the profile with this same value. | |
2. Click the profile defined through the first stage.
Note : the direction of the profile gives the side of the wire (in relation with other positioning parameters)
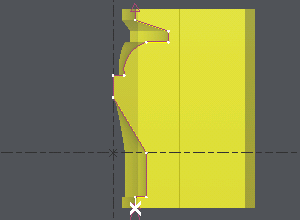 | 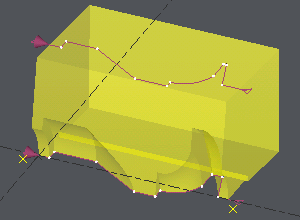 |
Everything is now ready for machining : choose a 4 axis contour/contour cycle and show top and bottom profiles.

