Multiple Slugs
Presentation
 | Setting multiple slug points enables to divide a geometry into several areas, to machine each area independently by ensuring multiples fastener points. This method is especially used to machine big sized parts or deep parts. |
▶️ You can watch a video at the bottom of page: Click here |
To define multiple slug points
Multi slugs can be used on open profiles.
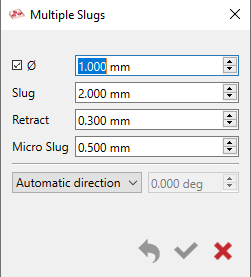
1. Location and size:
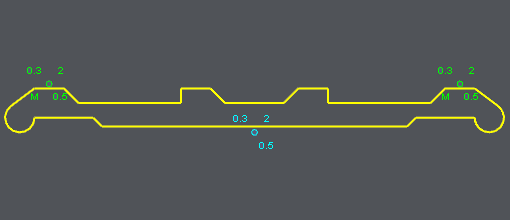
Give the location of the point by entering its coordinates or by clicking a point on the screen. If needed (check the box), enter the diameter of the multiple slug. The points displayed show a 'M' for Multiple. On the image below, the multiple slugs are set in green while the threading point is blue. Warning: defining a threading point is still necessary and obligatory. In the strategy process, the machining will be operated in 3 areas, according to one threading point and 2 multiple slugs. |  |
 | |
2. Technological parameters:
i/ Retract: motion of the wire programmed between each pass defined in the strategy. This distance avoids to leave a mark on the part. |
ii/ Slug and Micro Slug: definition of the slug in night & day strategies. This distance is the material left when you program partial passes. In night strategies, the value can be larger to ensure the rigidity of the part and the quality of machining since you can also define a micro slug to maintain the part. |
3. Selection in Machining:
Only strategies (opelist) can be used: the icon is also located in the selection toolbar. Click on it then make a window to select all the multiples slugs. |


