Skip table of contents

Turning Automatic Opelist

Definition

In GO2cam, most turning operations can be automated, thanks to the opelists. You can program your roughing and finishing operations, machining of grooves and inside operations.

The process of creation is fast and easy, some rules and limitations must be known.

▶️ This is demo demonstrates how Automatic Opelist are created in GO2cam.

Automatic toolpaths Creation.png

Creation of Automatic Opelist

  1. Select all operations in the Machining tree, right-click, choose ‘Opelist’, and then export them.

  2. In the Opelist creation pane, enter ‘Automation of the turning inputs’.

  3. In this window, to define an automatic Opelist, we need to validate it, regardless of whether we make any changes or not.

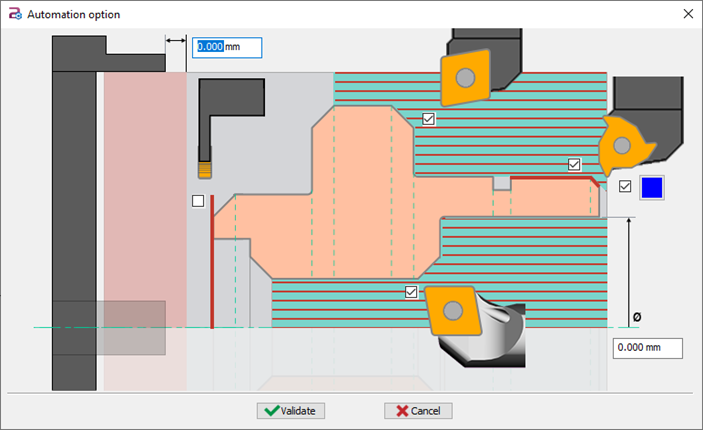
Inside the ‘Automation Option for turning inputs', we have checkboxes to select the operations that we want our automatic Opelist to perform:

  • Machining with or without a chamfer

  • Limiting machining on the shoulder

  • Choosing a color to define a threading profile.

Additionally, we can set values for:

  • The machining area is limited by the chuck and a safety distance.

  • The minimum diameter required to allow the execution of the internal cycles.

  1. After setting the parameters, we validate the Opelist and save it.

Creation of Auto Opelist.png
Saving of Auto Opelist-20240809-094825.png

Application of the Opelist

  1. To apply the Automatic Opelist, we import a new workpiece.

  2. We navigate to the Opelist environment, load the machine, and set the chuck.

  3. We click on the directory where we saved the Opelist; this could be a folder you created earlier.

  4. We run the Automatic Opelist. In the information panel, we can see that operations not performed have been automatically deleted.

Application on solid.png

Rules of Creation

Processes that can be automated:

  • Facing

  • Outside Diameter Operation

  • Inside Diameter Operation

  • Grooving and multi-grooving

  • Threading

  • Parting

Limitations:

  • Mill operations are not included in the automation process.

  • Certain shapes cannot be automated, including:

    • Pecking

    • Chamfering

    • Screws

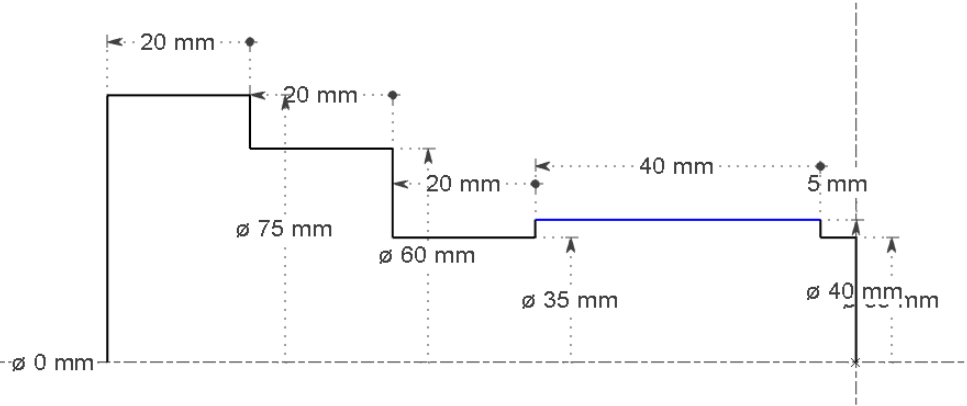
  • To automate the threading operation, a condition must be met: a groove is required immediately following the threaded section. Please read also below, the new ability for threading!

  • For the facing cycle to be applied, the feature must be vertical; otherwise, it will be skipped.

  • If the groove’s width is less than the cutting width of the tool, the groove will not be machined.

Rules for creation.png

These rules ensure that the automated processes are applied correctly and efficiently while acknowledging the limitations of the current automation capabilities.

New611.png

New ability for Threading: we can apply automatically a threading operation on a geometry defined by a colour. That way, you can define the threading operation in any diameter of part (but only once: if several elements have the colour applied, the first one will be taken)

If you do not define a colour for threading, the mechanism is the same as before: only the first diameter, if it is ended by a groove, is machined with a threading.

image-20240321-115844.png
image-20240321-115722.png

Automatic threading by colour.png

Special Case: Automatic Opelist for Main and Subspindle (Rework)

To automatize both Main Spindle job and Subspindle operations, we need to create 2 opelists.

The rule is to define the same settings for the 2 opelists!

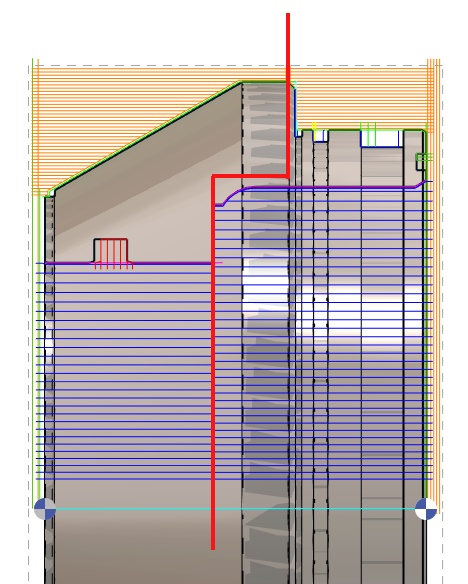
Let’s take an example. We have represented the different sides of machining by the red profile: on the right side, Main Spindle operations, on the left side, Subspindle operations.

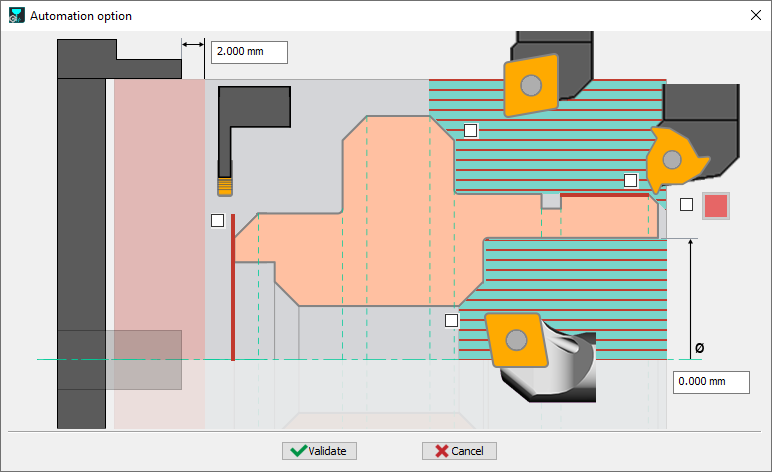
To program the 2 Automatic opelists, we need to set the 2 dialogs as follows:
Automatic-MS-SS-settings.png

When you define the opelist for the Main spindle, the operations are on the right side (green side). But when you define the opelist for Subspindle, you need to imagine that the operations will manage the left side in grey.

You can download 2 samples of opelists and copy them into your GO2cam folder called opelist.

Automatic_Turning_Operation.OPL

Automatic_Turning_Operation_SS.OPL

Automatic-MS-SS.png

JavaScript errors detected

Please note, these errors can depend on your browser setup.

If this problem persists, please contact our support.