Automatical Angle
Cycle: Facing Pocket, Facing Roughing
▶️ You can watch a video at the bottom of page: Click here |
Definition
Automatical angle enables to get the best sweeping angle according to the shape. | 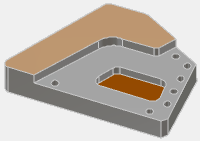 |
There are 2 ways to define the angle:
a. Automatical Selection
b. Manual Selection
a. Automatical selection
One great advantage of this cycle is to enable you to program 2 different directions during the same cycle.
For this, set Automatical angle to Yes.
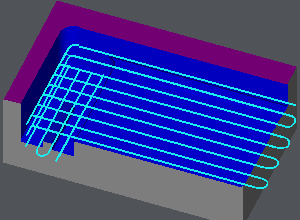
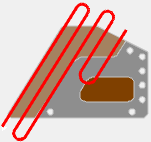
The most efficient angle is calculated for you by GO2cam. In the next example, you can see that 2 directions are programmed.
b. Manual Selection
First of all, set Automatical angle to No.
Then, 2 choices are given to you:
numerical value by entering an angle value manually,
manually giving the angle by clicking 2 points.
Numerical value
Type in a value in the field, it is given regarding X axis in the absolute value according to the counterclockwise circle.
Examples:
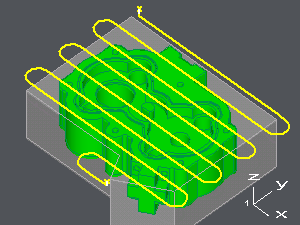
Type in 0 to have a horizontal toolpath: | Type in 90 to have a vertical toolpath: |
 | 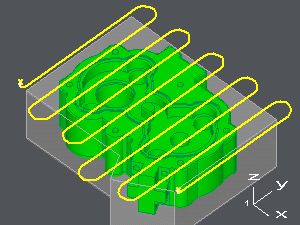 |
Manually
a. Left-Click on :sweep_angle:
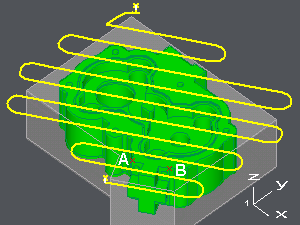
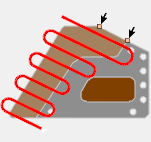
b. Left-Click on 2 points which orientation gives the machining direction.
The points selected can be points, extremities, intersections of elements or corners of a solid part.
In the example, the points selected are A and B on the solid.
Summary
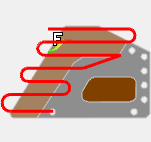
Automatic Angle=YES | Automatic Angle=NO, Angle=0° | Angle given by 2 points |
 |  |  |

