Wireframe Design
The wireframe creation has been completely renewed and is now closer to CAD systems' standard drawing workflow. GIFs have been added for easy use and can be visualized by pointing your cursor on the command!
Please read the explanation below and also note that you can watch tutorial videos and practice at the bottom of page.
Presentation
The Wireframe menu is divided in 5 submenus:
 | Creation | most of the draft is done thanks to the commands of this submenu. |
 | Finishing | once the sketch is designed, you can do the finishing actions such as adding fillets, chamfers, etc. |
 | Holes | standard holes, users holes (HMF) and holes editor. |
 | Taper | creation of taper shape to be used with the machining cycle 'Taper Cutting'. |
 | Import Cleaning | commands useful when importing 2D CAD files (DXF, DWG…) |
Principle
The principle of wireframe design is to sketch the wireframe geometry and then trace the contours, such as technical drawing. You can mix this method with the creation of predefined shapes (rectangles, oblongs, holes). Finally, use finishing design commands, such as fillets, chamfers, joints etc.
To achieve your draft rapidly and easily, we suggest you to design geometry shape by shape. For example, if you want to draw several pockets and contours, create unbounded geometry for one pocket, then trace the final contour, then start drawing the second pocket, etc. | Final draft to design 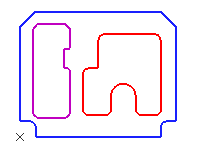 |
If you create all the unbounded geometry at once, it will be difficult to trace the final contours. On the right side, you can see an example of unbounded geometry for a quite simple drawing. There are obviously too many unbounded elements on the screen! | 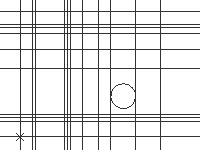 |
Here, we show you the same drawing with the shapes traced one by one. It is much easier and clearer to finish drawing. Another advice is to create the shapes with different colors, as we did in the previous example. It will enable you to sort or hide the geometry by color and this will make the selection of machining much easier. Another solution is to design with different layers. For more details on layers, click here. | 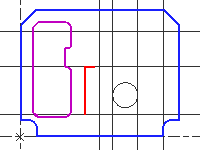 |
General Use of Commands
The commands are available in the left toolbar of submenus. Here we wills how you about the circle command. By clicking on the feature to be drawn, you have to select from the numerous modes of constructions. | 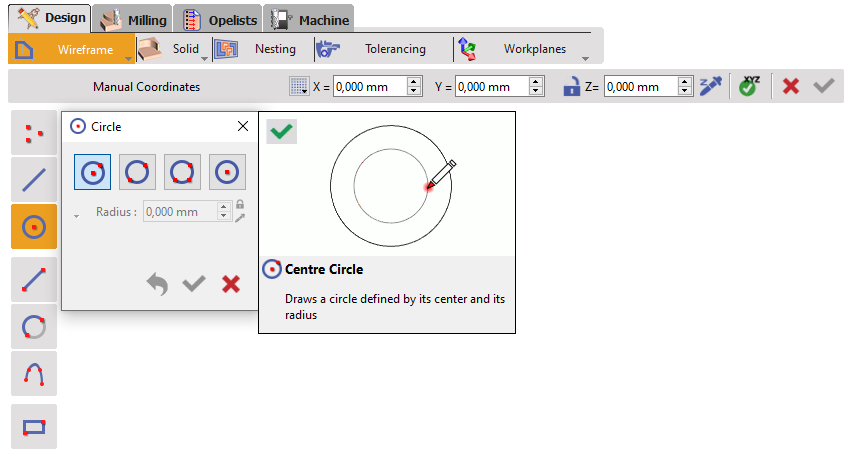 |
You then have to assign the creation points and click on the background or add enter the coordinates to confirm (explained in the next page) to confirm. | 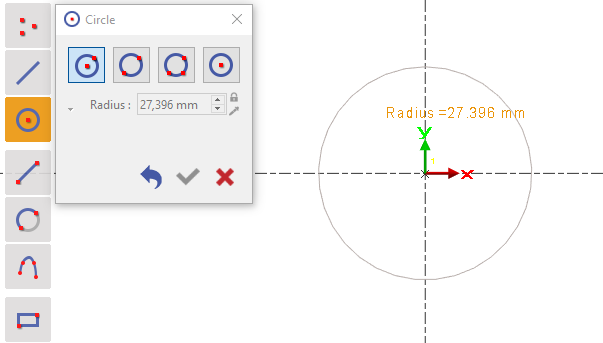 |
You can then set the correct features parameters to complete the design and click on Validate. | 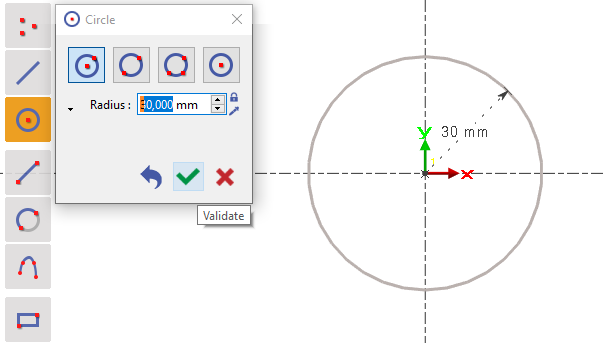 |
Coordinates System
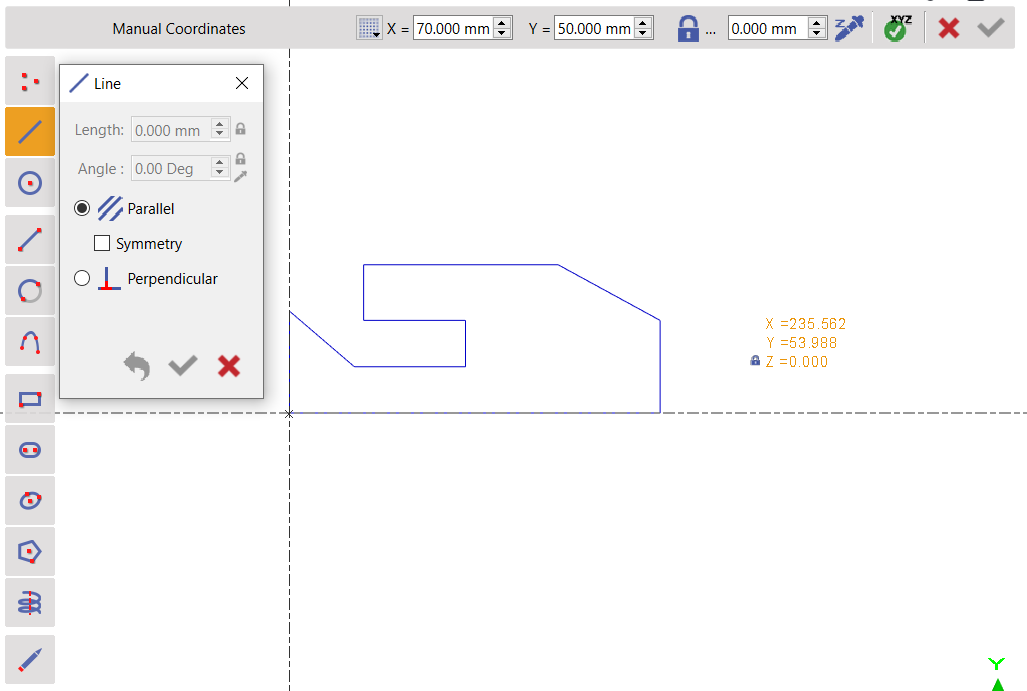
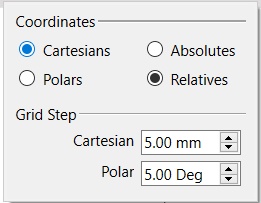
The sketching command no longer exists in the version 6.09. You can use the coordinates system to create the drawings:

Your Turn!
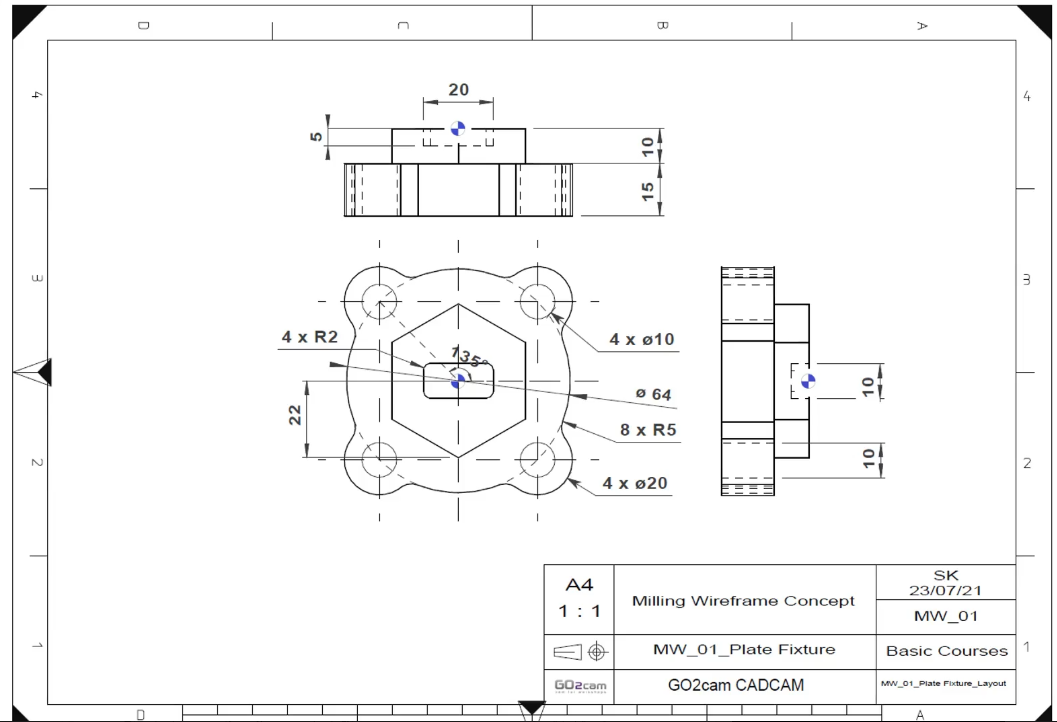
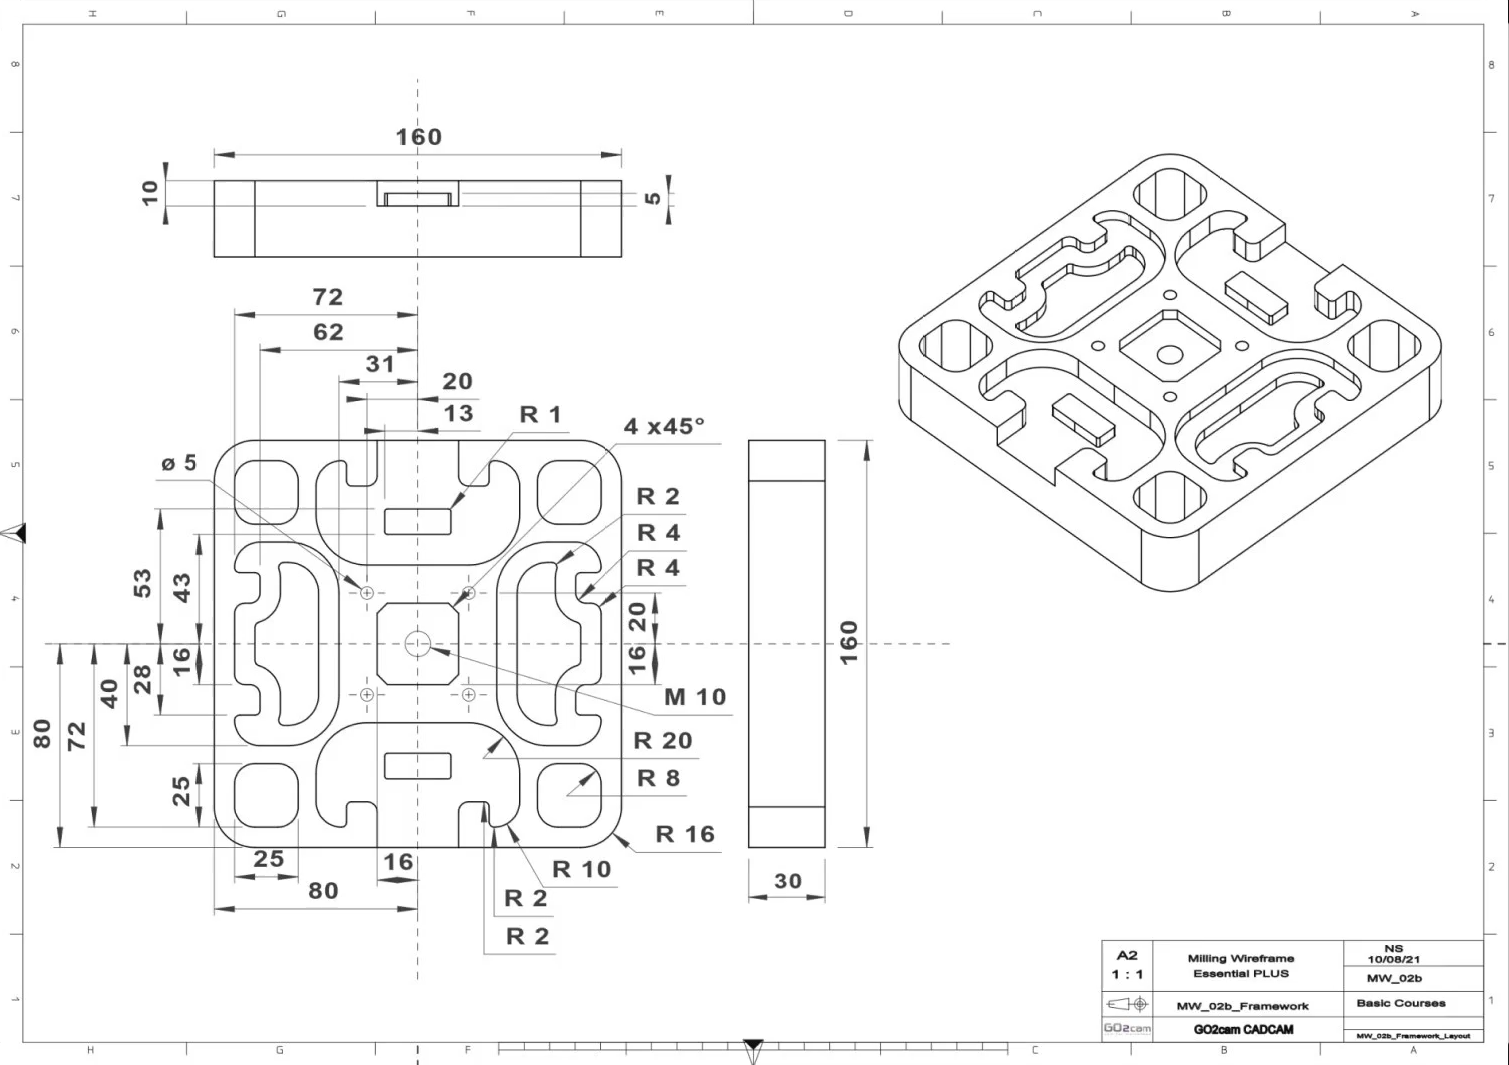
Below are the layout diagrams of 2 workpieces that we are going to design. You can either watch the videos to see how to design the workpieces or you can try to design it on your own.

