
|
You are ready to program a part you draw, or you imported from CAD. In the Machining Tree, right-click on Machining choose Opelists then Import opelist.
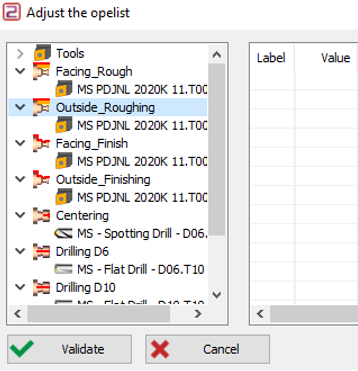
Choose the Opelist you need, you can read the comments to recognize easily the one you need. At this moment you also can modify a tool or replace it by another. Do a right-click to edit the tool. The techno and strategy parameters will be updated according to this new tool. Your only action is to select the correct geometry, click on Start Calculation at each Selection.
Until all the selections are done, you can not Confirm. The missing selections icons are displayed with the selection arrow.
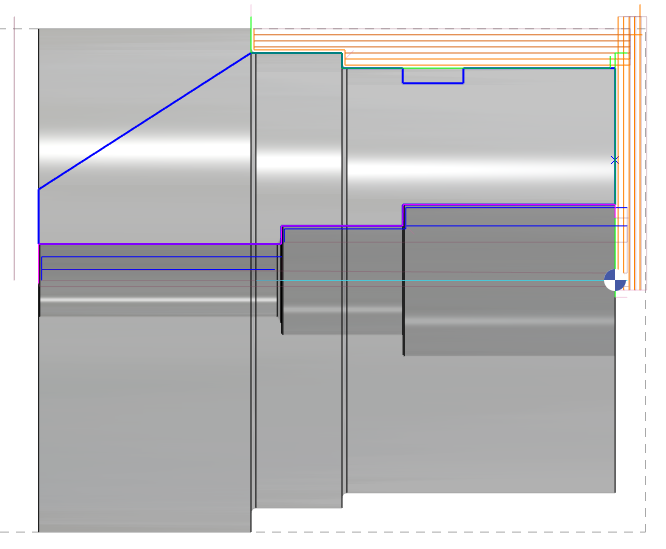
When all the selections are finished, confirm on the top: the whole part is programed! Note: If a cycle of the opelist works with automatic references and that we cannot find the reference in the part, when a cycle is mute, it is automatically deleted and the opelist is calculated. |
|
|
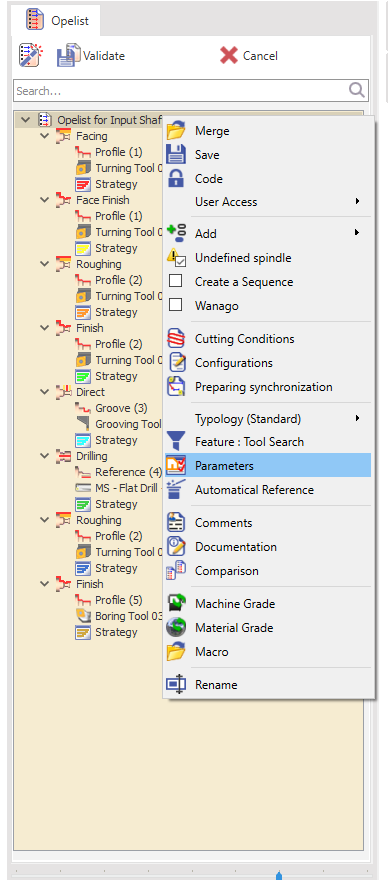
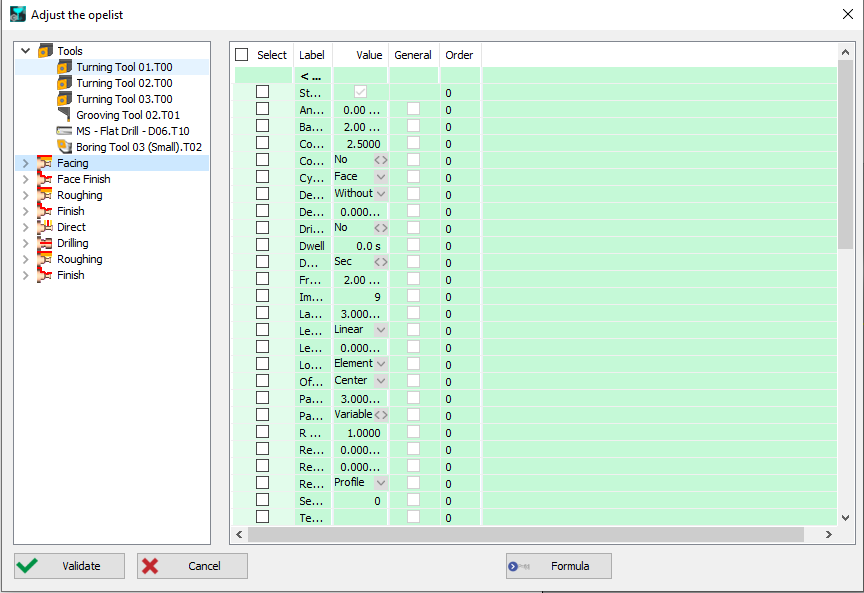
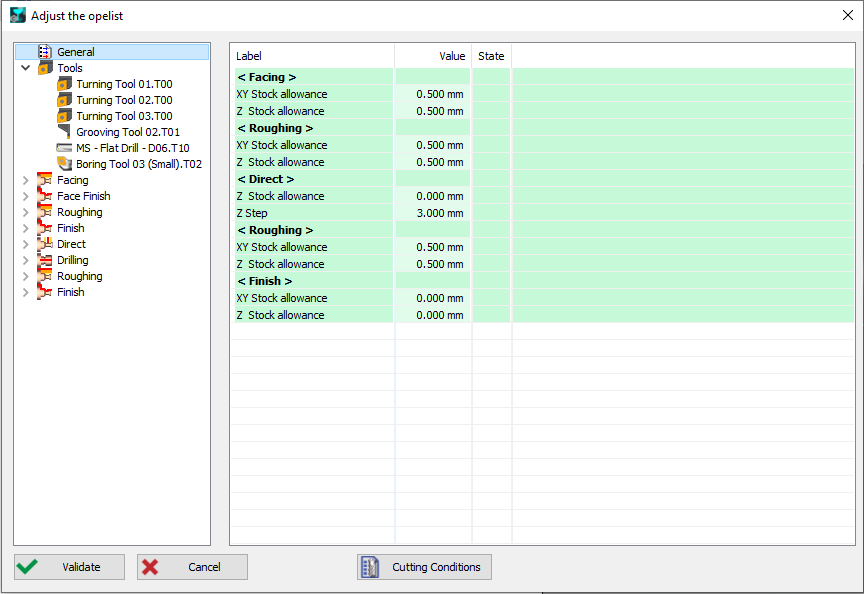
You can set parameters that you want to modify each time you open the opelist by following the steps below :
|
|
|
2. Once we have set all these, we validate the parameters and the Opelist. Then, we load a new workpiece and import our Opelist.
|
|
|
|
|
|
Tip: In turning, the approach and return vectors can be adjusted. When you create the opelist, right-click on the 'Profile' line, then 'Vectors Selection'. 3 modes are available :
-
Automatical : vectors are 90° to the machining direction
-
Continuity : tangency with the geometry
-
Forced Angles : fill the values you want.