
In Turning, consider two main methods for the selection of geometry:
-
the General operations & Grooving operations: profiles are needed
-
the holes machining operations: points are needed.
|
▶️ Watch a video at the bottom of page click here |
Selection for General Operations and Grooving
For either General Ope or Grooving cycles, the selection of geometry is carried out as follows:
|
|
General Ope |
Grooving |
|
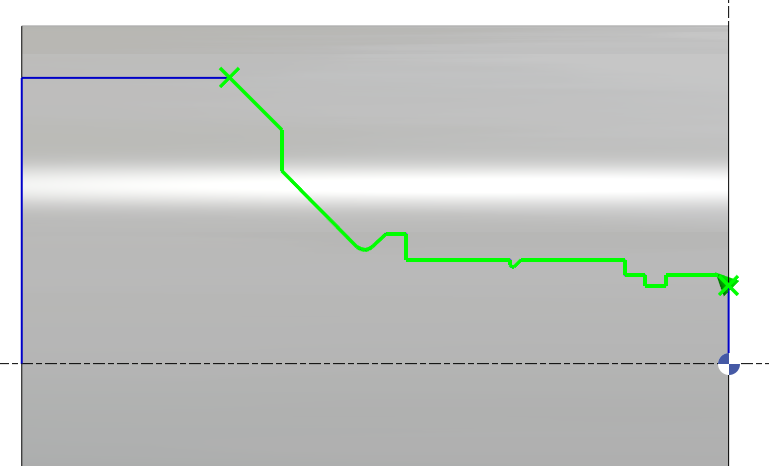
To create your cycle, first click on Geometry Selection. Then determine the profile to machine by selecting the starting element up to the final element. |
|
|
|
Validate using the green tick. |
|
|
|
The toolpath can also be inverted by selecting the Next option. |
|
|
|
or Previous element. |
|
|
|
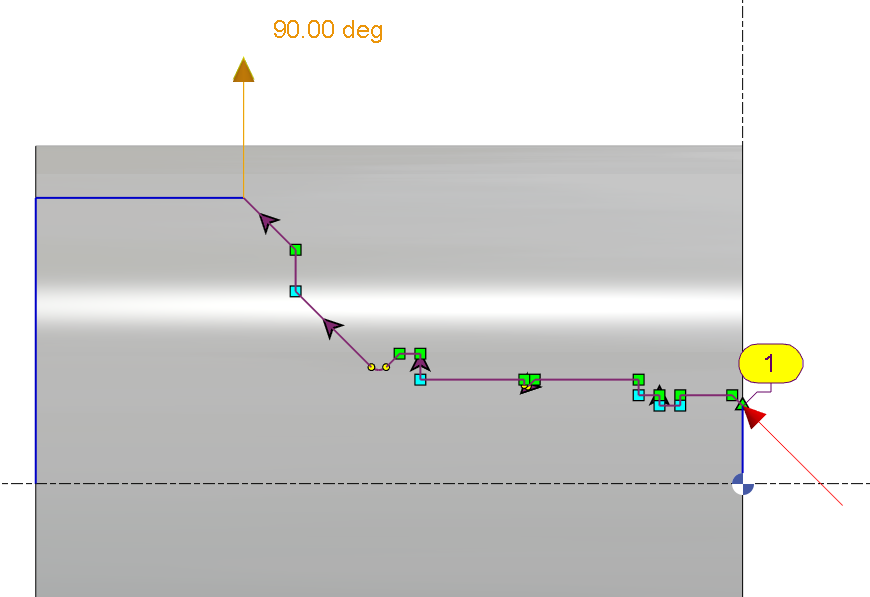
Following this, the approach and return vectors can be managed, indicating the entry and exit paths based on the material to be removed. By default, the vectors are oriented tangentially to the first and last elements. They can be modified either by entering angle values in the designated fields or dynamically on the screen. |
|
|
Special Cases
|
A facing operation can also be performed in the opposite direction by inverting the profile’s orientation using the Activation of a Profile command. |
▶️ Watch a video showing an example. 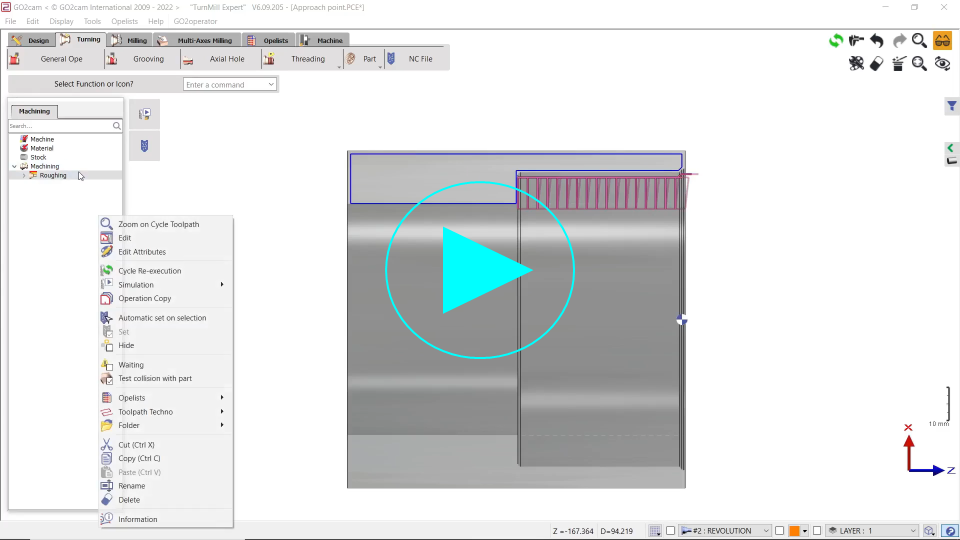
|
|
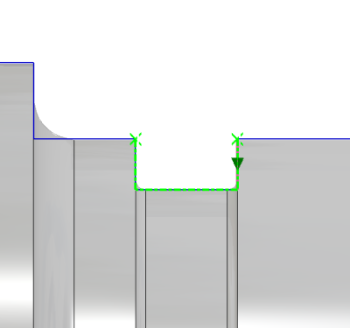
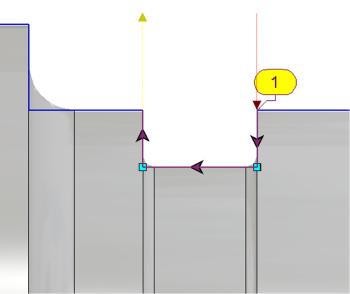
There is a specific method to machine grooves which are oriented as external grooves but are positioned as internal grooves. The use of symmetrical silhouettes is necessary in such cases. |
▶️ Watch a video showing an example. 
|
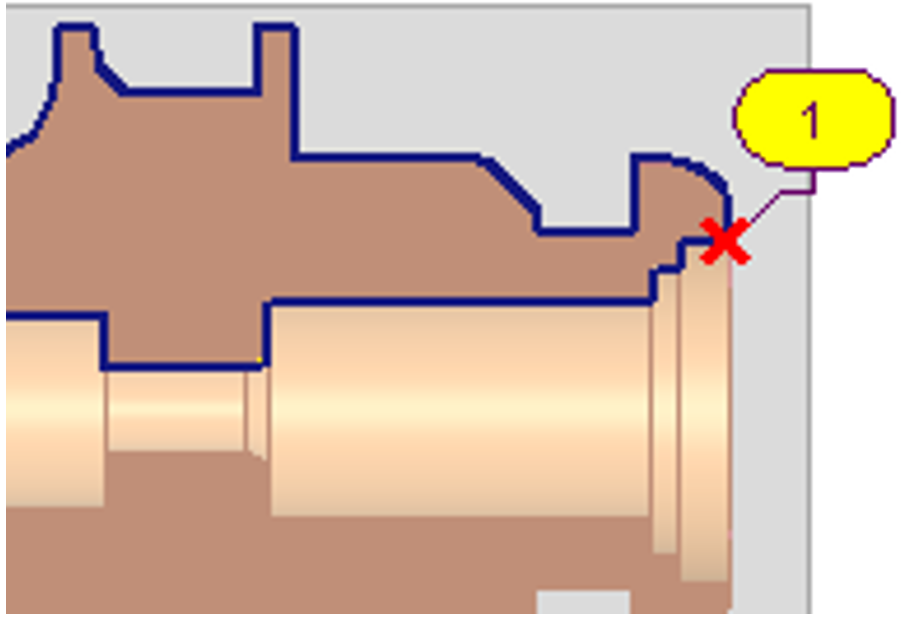
Selection of Holes
Cycles: Centering, Drilling, Tapping
|
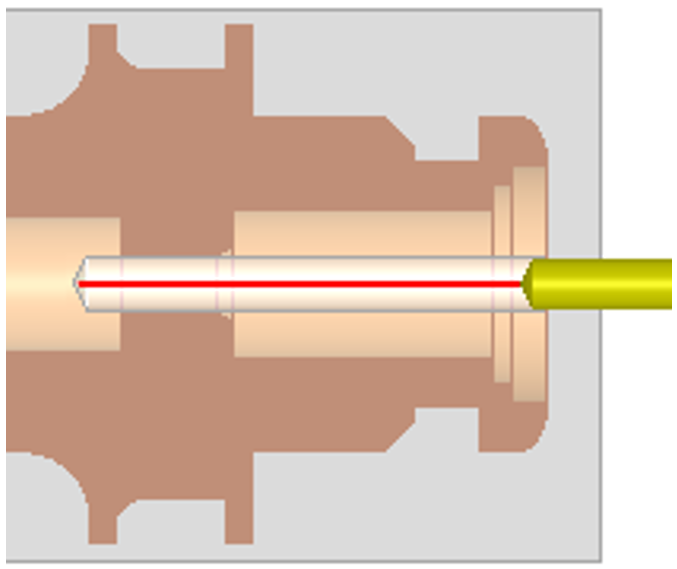
The geometry selection for these three cycles is specific: only a single point needs to be indicated. It is not necessary that the point is located on the hole axis. It can be anywhere on the geometry, as shown on the image on the right. The depth is determined in the strategy page, with the following parameters: |
|
||
|
Centering operation: 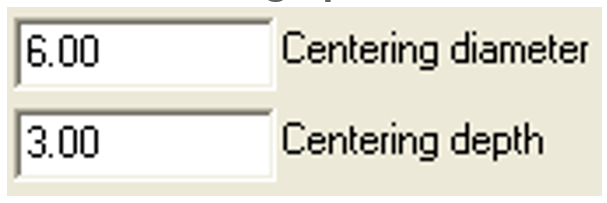
|
Drilling operation: 
|
Tapping operation:
|
|
|
|

|
|
|
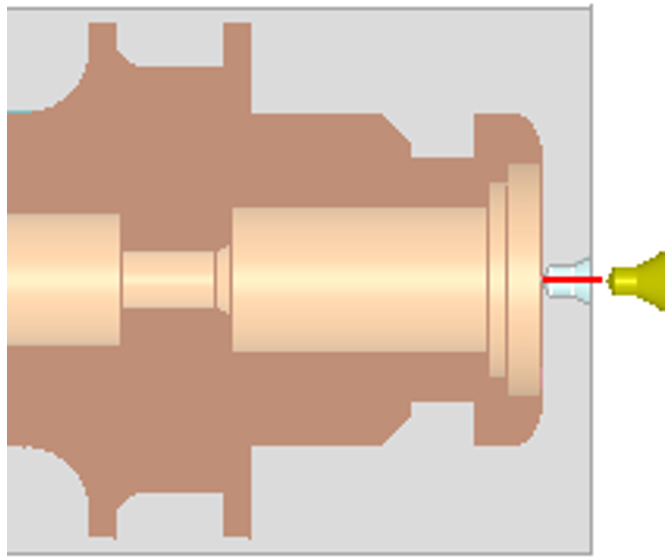
Axial Drilling It is now possible to preselect the tool by filtering based on the tool diameter, similar to the method used for milling pockets. The list is reduced to capable tools with Tool Diameter <= Geometry Diameter The default diameter is calculated by the position of the picking point. |
▶️ Watch a video on axial drill. 
|
|
▶️ Watch a video about the Selection for General Operations and Grooving and Selection of Holes: .png?cb=1683f04538967888682ee254f1897297)
|
Slice the part
|
|
The “Slice the Part” command is available in the Horizontal Lathe module. This command helps manage machining of long bars by dividing operations into sections. After applying it, the machining tree organizes the workflow to complete all operations for one section before moving to the next, ensuring stability and efficiency. For more information, see this page. |

|