Profile Definition
Presentation
A profile is a chaining of geometrical elements, it is obligatory for machining (except for point to point cycles). This function allows you to create and consequently to analyse a profile before machining. |
Symbols used:
Starting and ending points on a closed profile (Automatic/Manual definition) Starting point on an open profile | Continuity between 2 elements | ||
Ending point on an open profile | Tangency between 2 elements | ||
Direction of the profile |
There are 2 ways to create a profile :
Automatic definition with a selection box
Manual definition element by element
Automatic definition
The principle is to do a selection box. There are several possibilities. Here are the 3 most frequent ones, the selection box is the white rectangle :
Selection box outside | Selection box inside | Selection box including several elements |
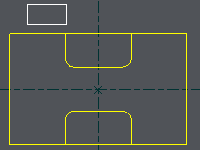  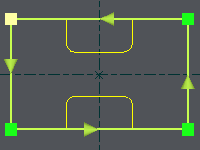 | 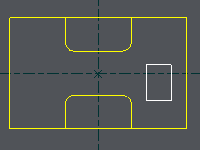  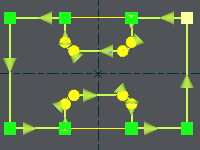 | 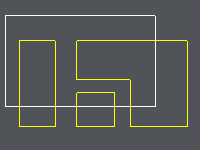  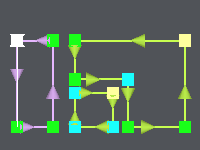 |
▶️ Here is a video which includes the use of commands Automatic Profile definition by selection box and Geometry Continuity: 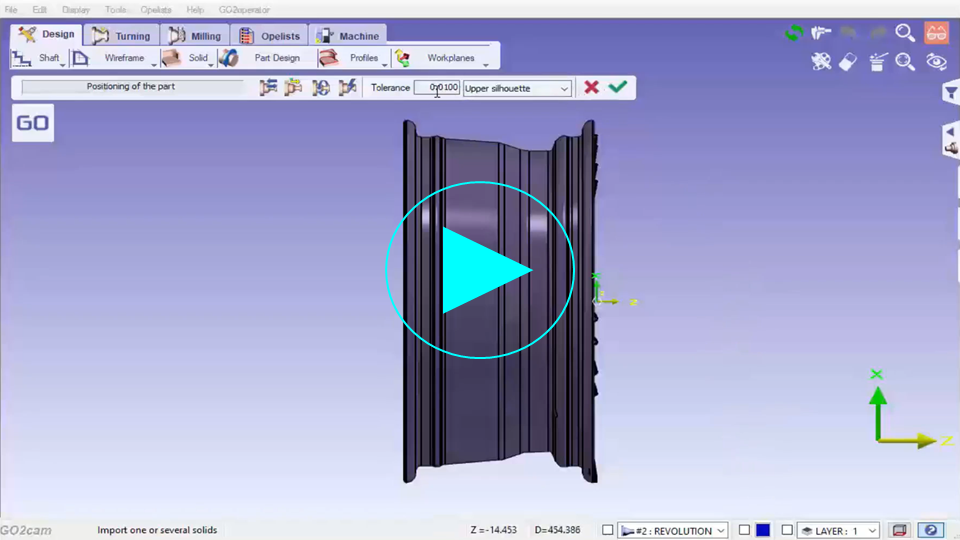 |
▶️ Definition by Double-ClickYou can also easily select profiles by double clicking. The video shows the various tricks available for quick selections. |  |
Manual definition
The principle is to choose the elements of the profile depending on the intersection found.
Three stages are necessary :
Create the path of the profile
Define the specific starting point if needed
Define the specific ending point if needed
|  |
Answer to the question in the dialogue bar : |  |
You can either :
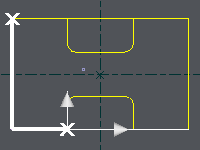
Click on the next element, shown with a silver arrow, and repeat the operation until the end of the profile : 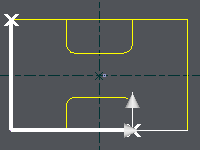  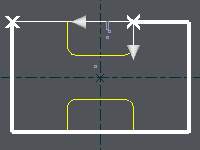  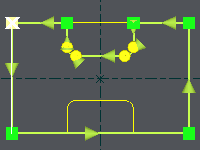 | Click on 'all on left' : the profile chooses the left direction at each intersection. 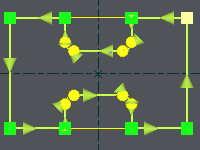 | Click on 'all on right' : the profile chooses the right direction at each intersection. 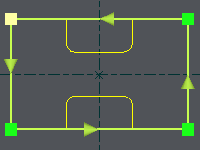 | Click on 'Profile OK' : the profile is defined. 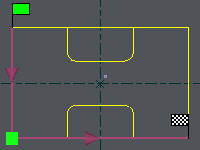 |
2. The second stage is about the starting point. | 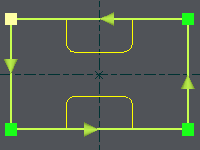 |
Answer to the question in the dialogue bar : |  |
You can either :
a/ Choose a special point on the first element : click in the window (the background) : 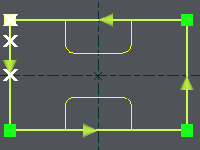  You can choose the point on the fly thanks to the moving cursor, or choose the start or the middle of the element 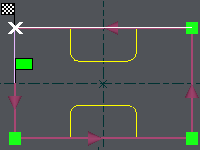 | b/ Choose another starting element, clicking on it or with Previous and Next buttons : 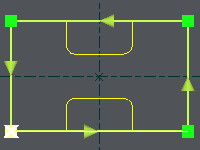  Once the starting element is chosen, you come back to the beginning of the 2. stage. You can either :
| c/ Finish the profile : click on Profile OK 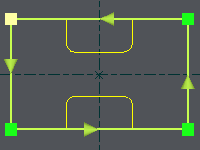 |
3. The third and last stage is about the ending point. The operations are strictly identical to the ones done for the starting point. Please read b. stage.
The profile is now finished.


