
Presentation
|
|
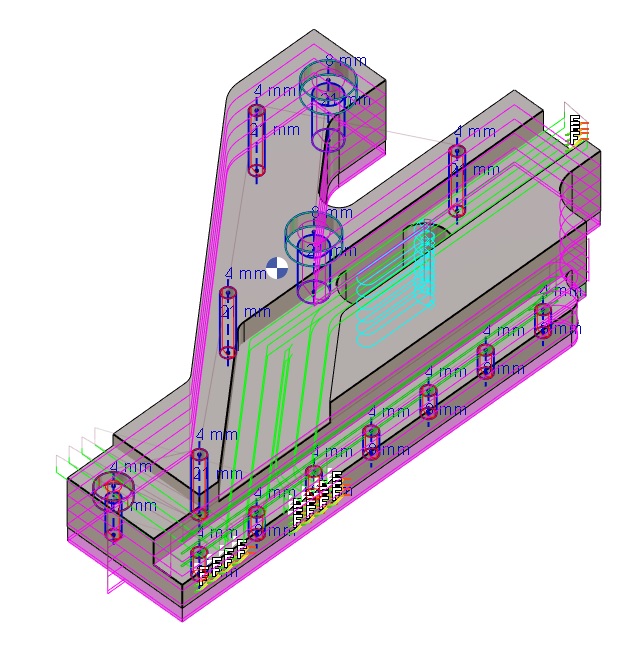
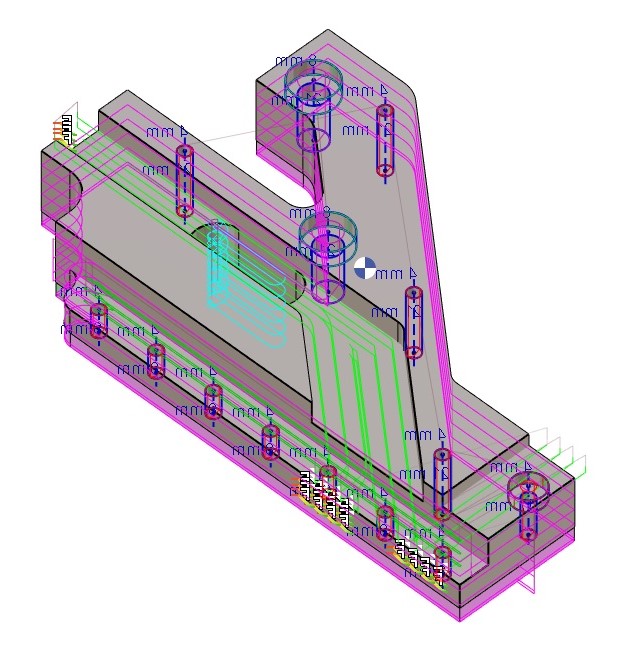
Creation of a new part by applying a symmetry copy. The geometry and the machining is copied in the new part. |
|
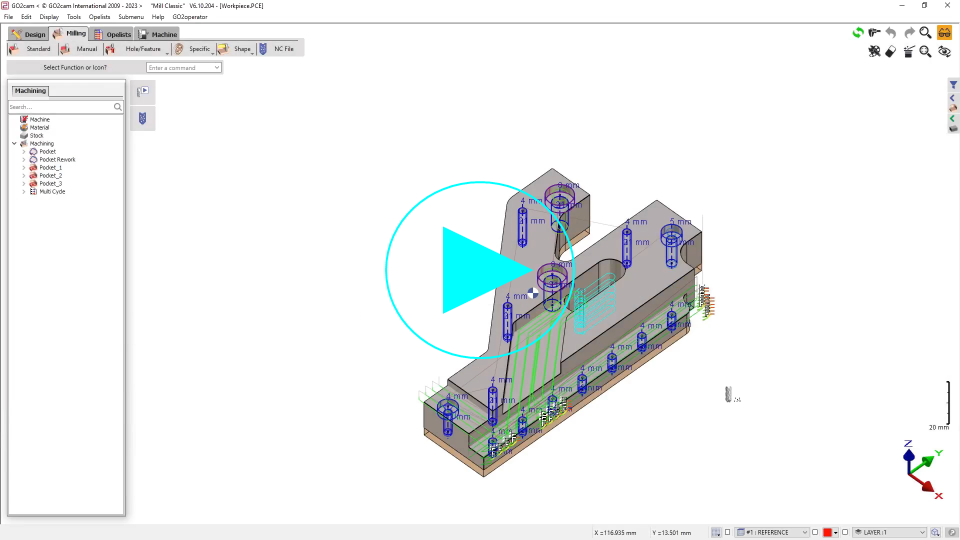
▶️ You can watch a video at the bottom of page: Click here |
The purpose is to create the symmetrical part in a couple of clicks. It can be very useful in Aeronautics or to create Left-Right Parts. These parts can be used in Multi-Parts Machining (MPM).
|
|
To create a part symmetry
1. The first step is to machine a part completely and to save it.
If it was not already saved or if it was not saved recently, GO2cam automatically opens the dialog box to save the part.
2. The following dialog zone appears:
-
The button Axis enable to choose any geometrical element as the line of symmetry.
-
The next field proposes predefined configurations : X axis, Y axis or Angle value. The angle is defined between Ox and the symmetry axis.
-
Origin defines the coordinates of the symmetry axis origin.
|
|
to cancel the function |
|
|
to validate and create the new part. |
-
GO2cam suggests by default the name of the part + _sym at the end, such as partname_sym.PCE. You can give any other name if you want.
Some examples
|
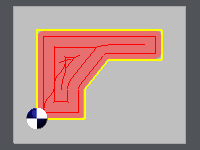
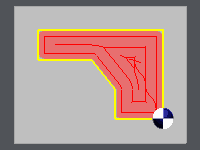
Symmetry axis: X
Origin 0, 0 |
|
|
|
|
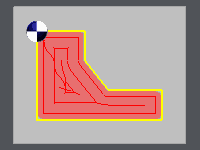
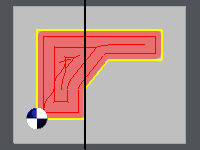
Symmetry axis: Y / Origin 0, 0 |
|

|
|
|
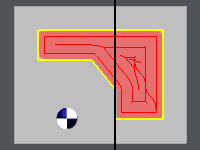
Symmetry axis: Y / Origin 40, 0 (the axis is represented by the black line) |
|
|
|
|
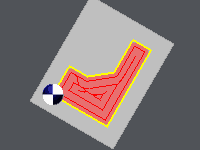
Angle = 30° |
|

|
|
|
▶️ You can watch a video about the full process of Part Symmetry:
|