GO2cam Dental Help

Machining of undercut area

The goal of the function is to create some new milling directions to remove undercut areas.

During the using of this function, the rotation of STL will be limited by the capacity of machine tool.

Click at the icon to create undercut area.


27080.png

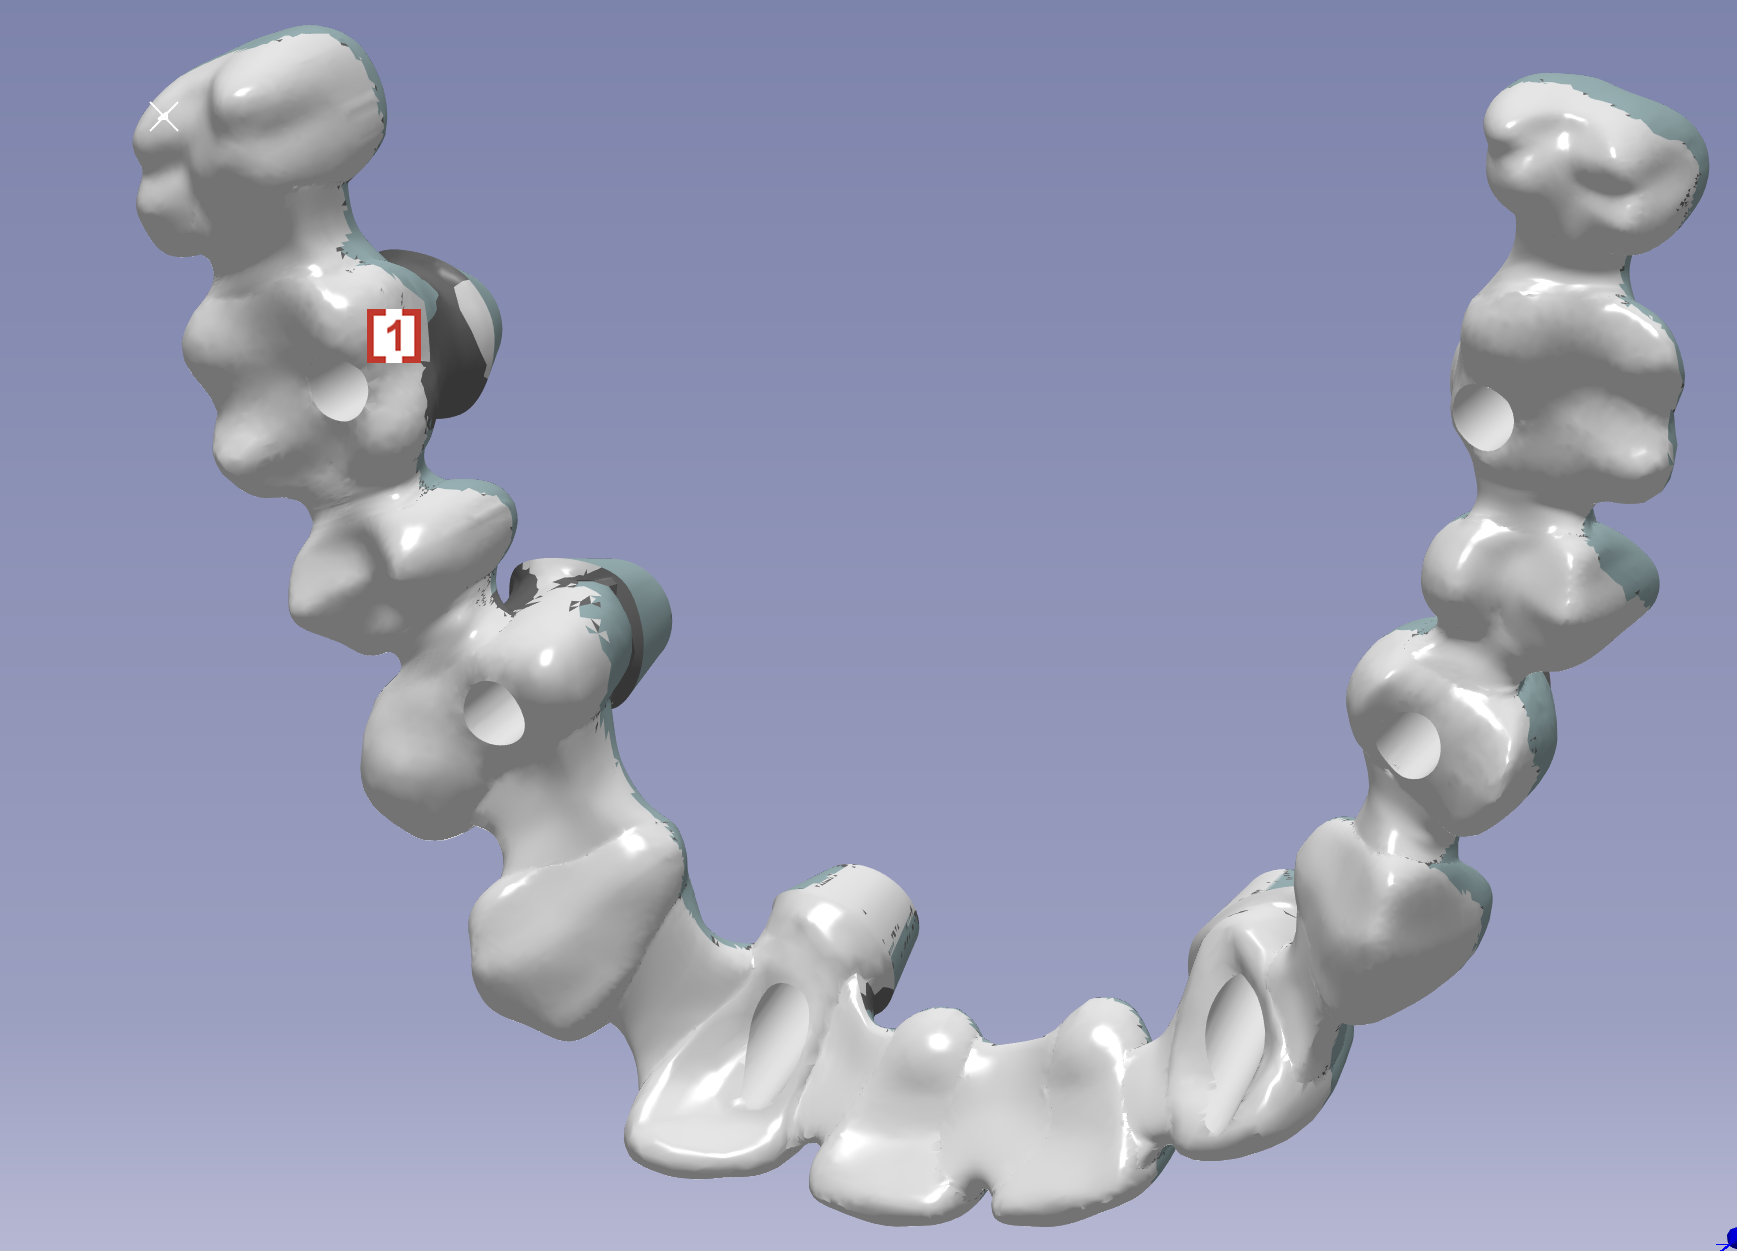
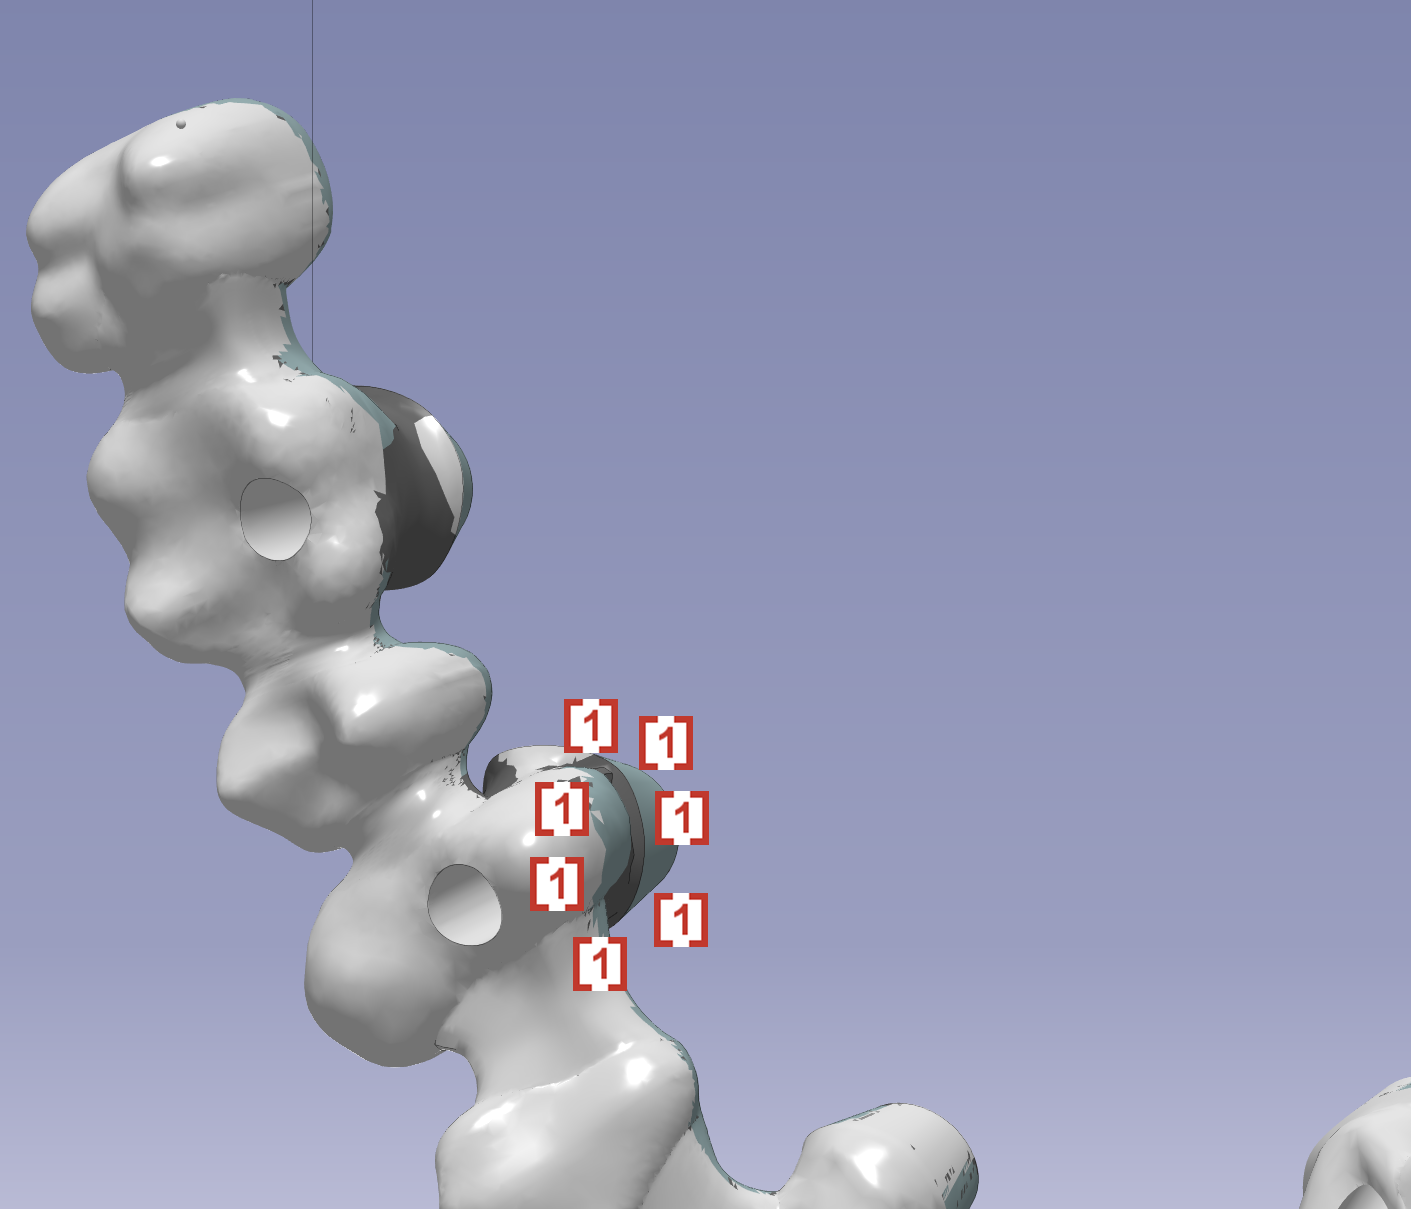
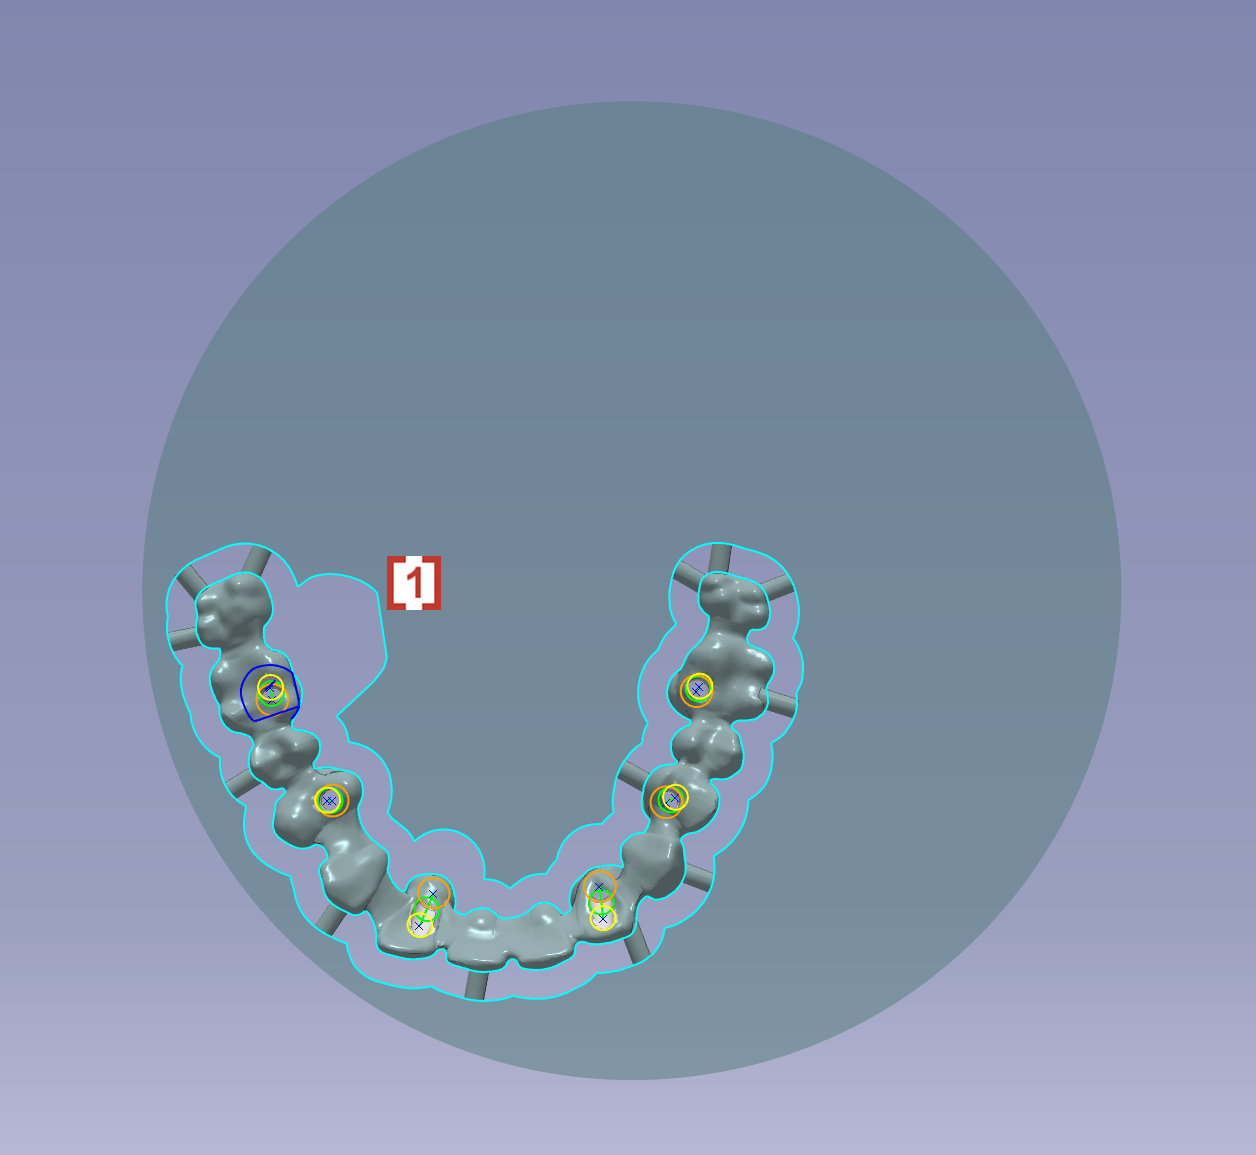
In the pop up window, we can choose the mode to define undercut area[1] and invert the view [2].

We can also change the type1, 2, 3… of undercut. But we will use type1 by default until your reseller give you advice of the other types.

image-20230818-131048.png


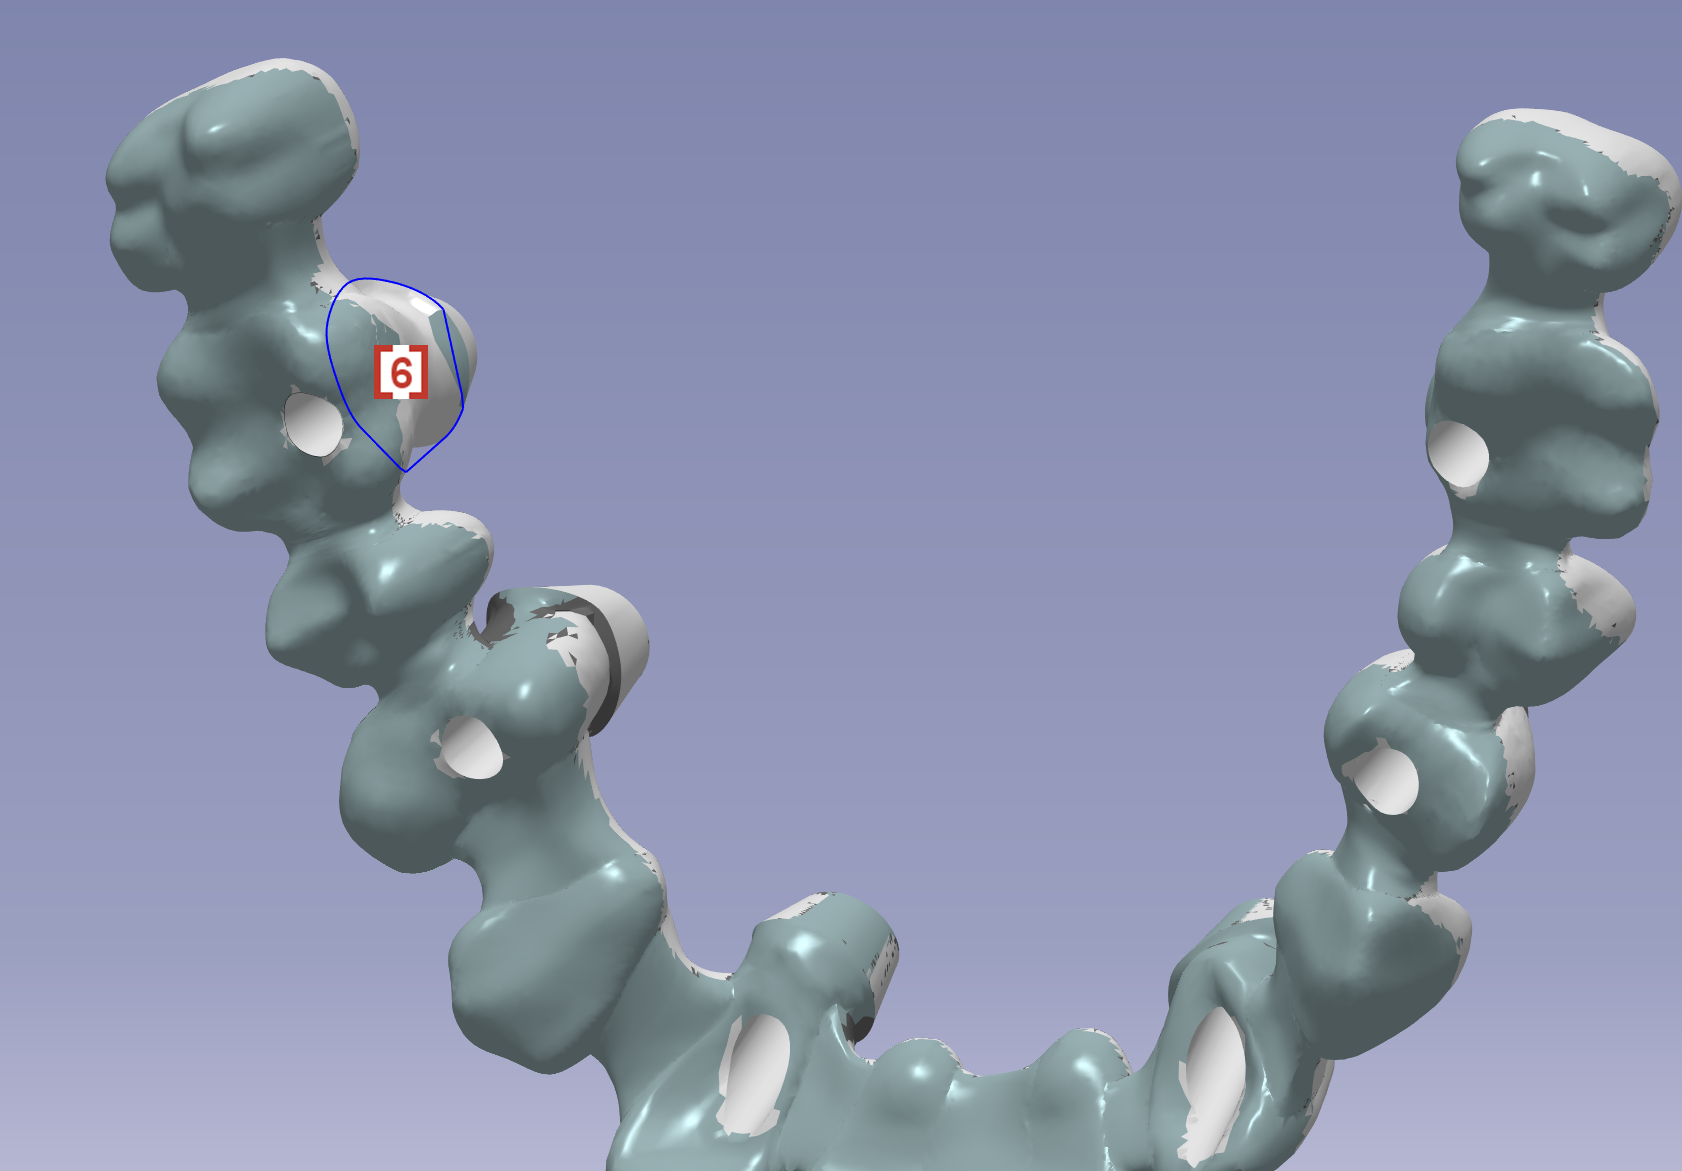
We can define an undercut area in Automatic mode which is recommended when the undercut is small and discrete:

  • Choose the Automatic mode

  • Rotate the stl to show the undercut in black color. The rotation will be limited in angle which is determined by the machine tool.

  • Click at the undercut [1], the undercut area [2] wrapped by a blue circle will be created automatically to cover all the surface in black.

  • You can modify the created blue circle by click at a point on it, the process is similar as modification of margin line. You can click at the up/down arrow [3] to change the result of modification [4][5].

  • Validate and then the undercut area will change to white color [6], which indicates this area will not have undercut anymore.

  • Now GO2dental will machine this undercut area with tool axis which is vertical to your screen when you defined the undercut area. And that’s why the defined area will not be undercut anymore.

  • Now you can invert the view and define the undercut area on the other side.

image-20230818-132159.png
image-20230818-132321.png
image-20230818-135836.png
image-20230818-135853.png
image-20230818-140118.png

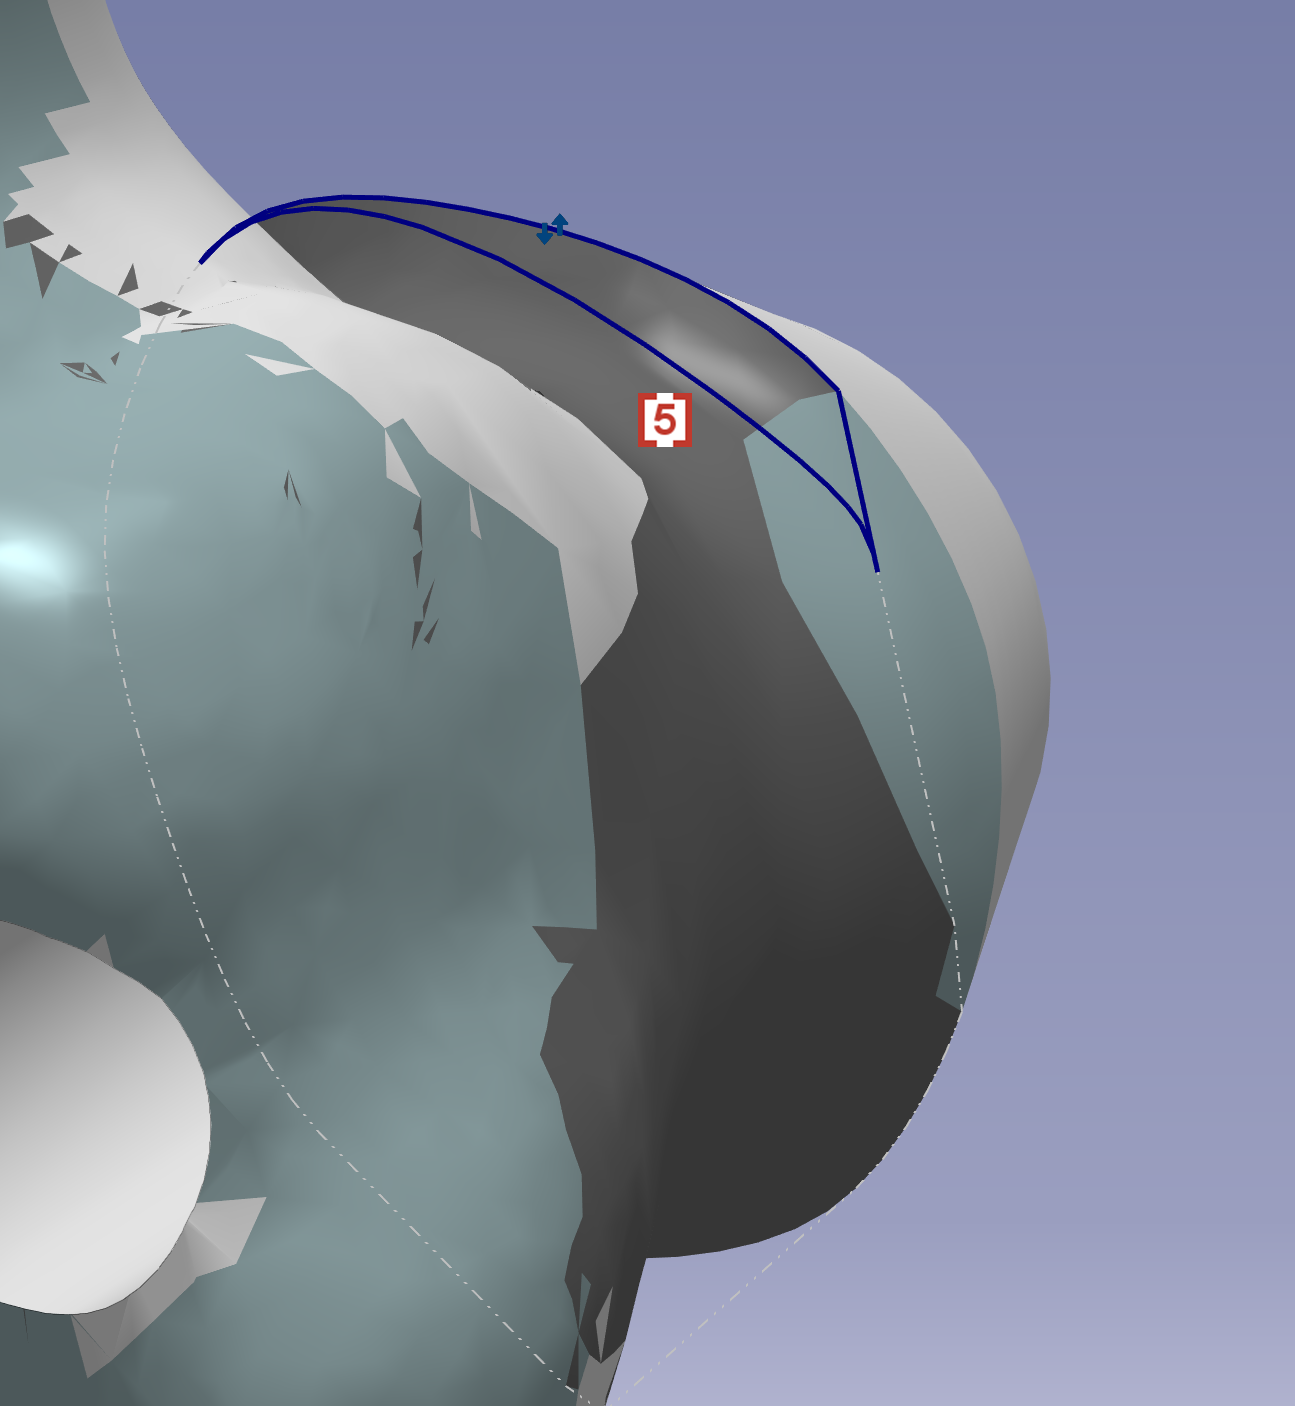
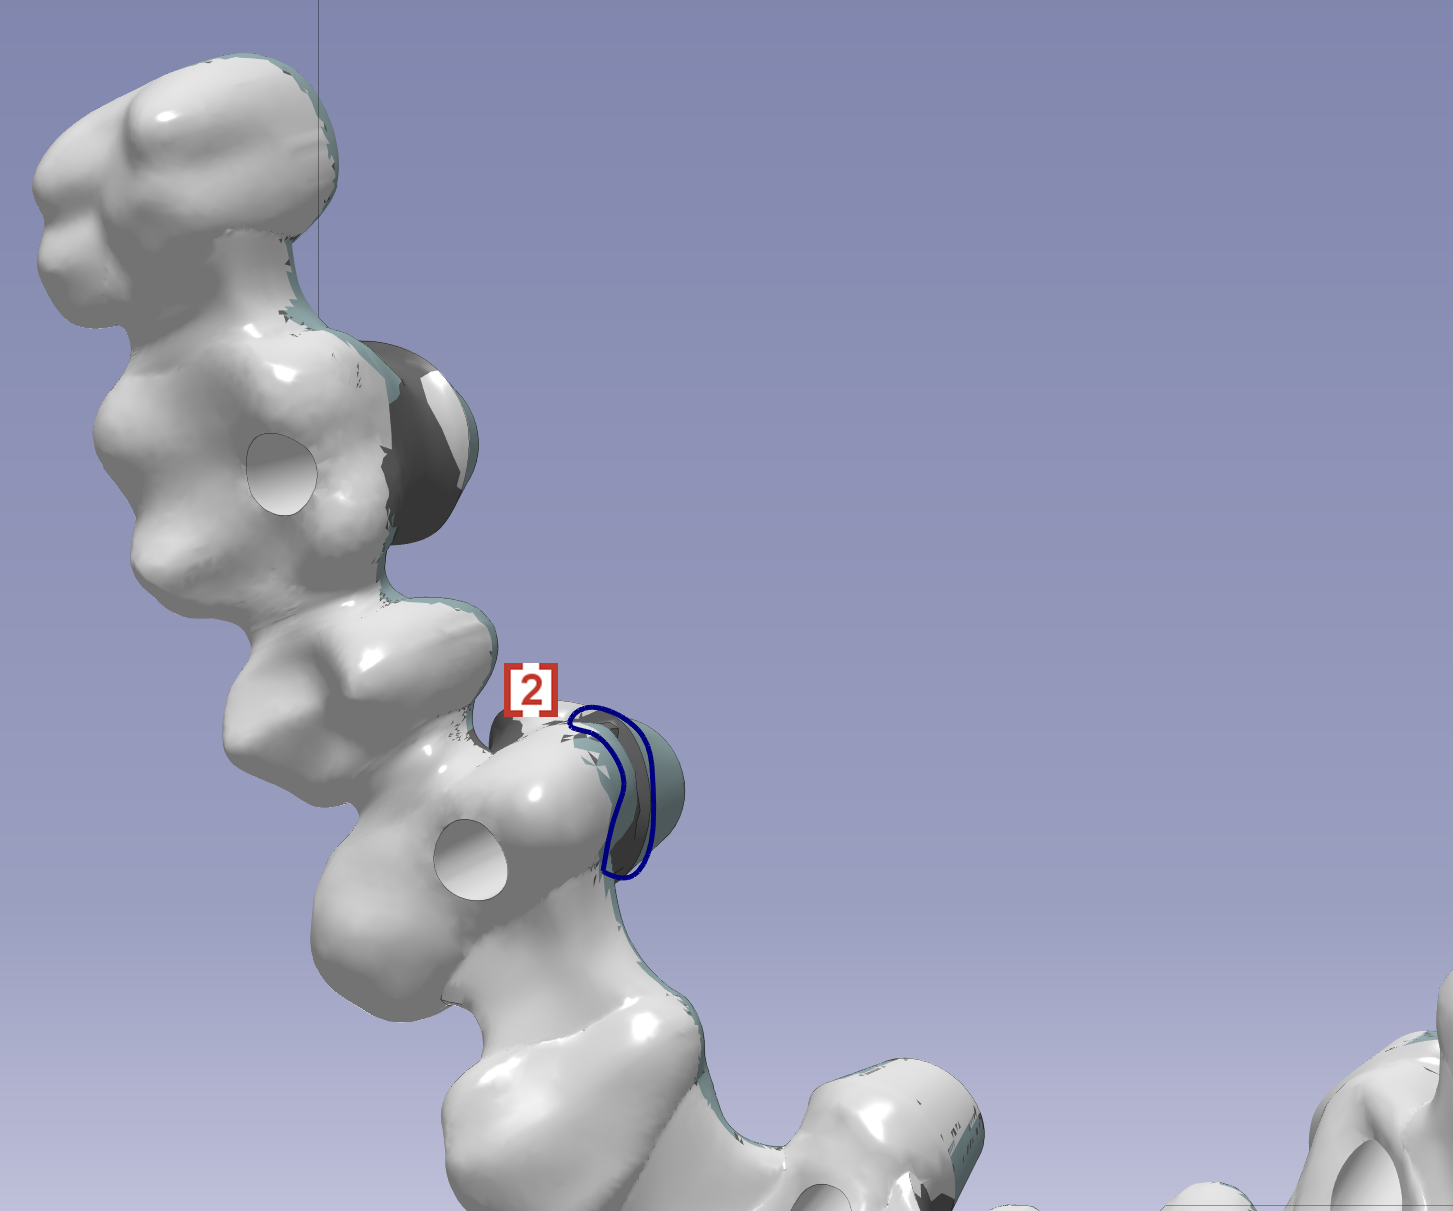
We can also define an undercut area in manual mode which goes through multiple points outside of the undercut:

  • Choose the Manual mode

  • Rotate the stl to show the undercut in black color. The rotation will be limited in angle which is determined by the machine tool.

  • Click at the points outside of undercut one by one [1] to draw a blue circle [2] to wrap all the surface in black.

  • Validate and then the undercut area will change to white color [3], which indicates this area will not have undercut anymore.

  • Now GO2dental will machine this undercut area with tool axis which is vertical to your screen when you defined the undercut area. And that’s why the defined area will not be undercut anymore.

  • Now you can invert the view and define the undercut area on the other side.

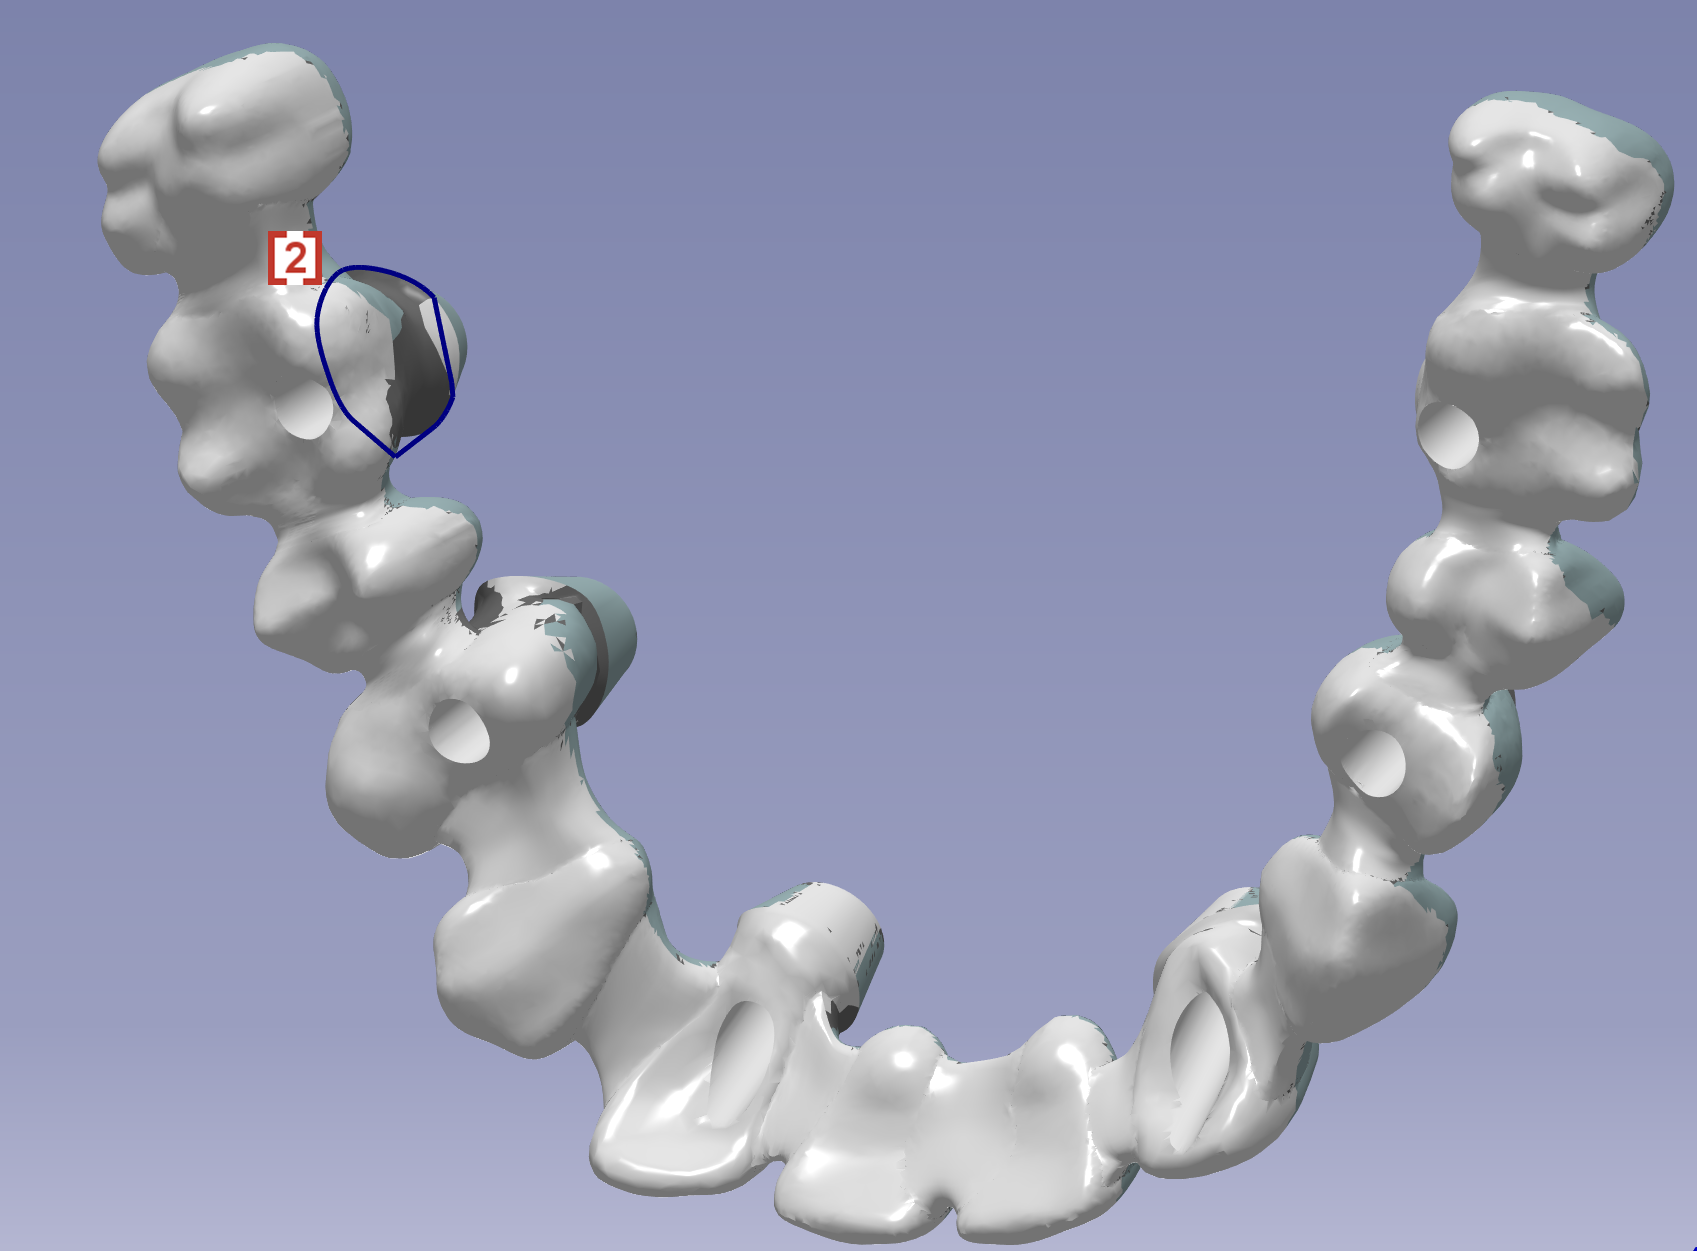
The circle [2] is recommended to be fully on the stl surface, otherwise tool collision could be happened.

image-20230829-085248.png
image-20230829-085450.png
image-20230829-085528.png

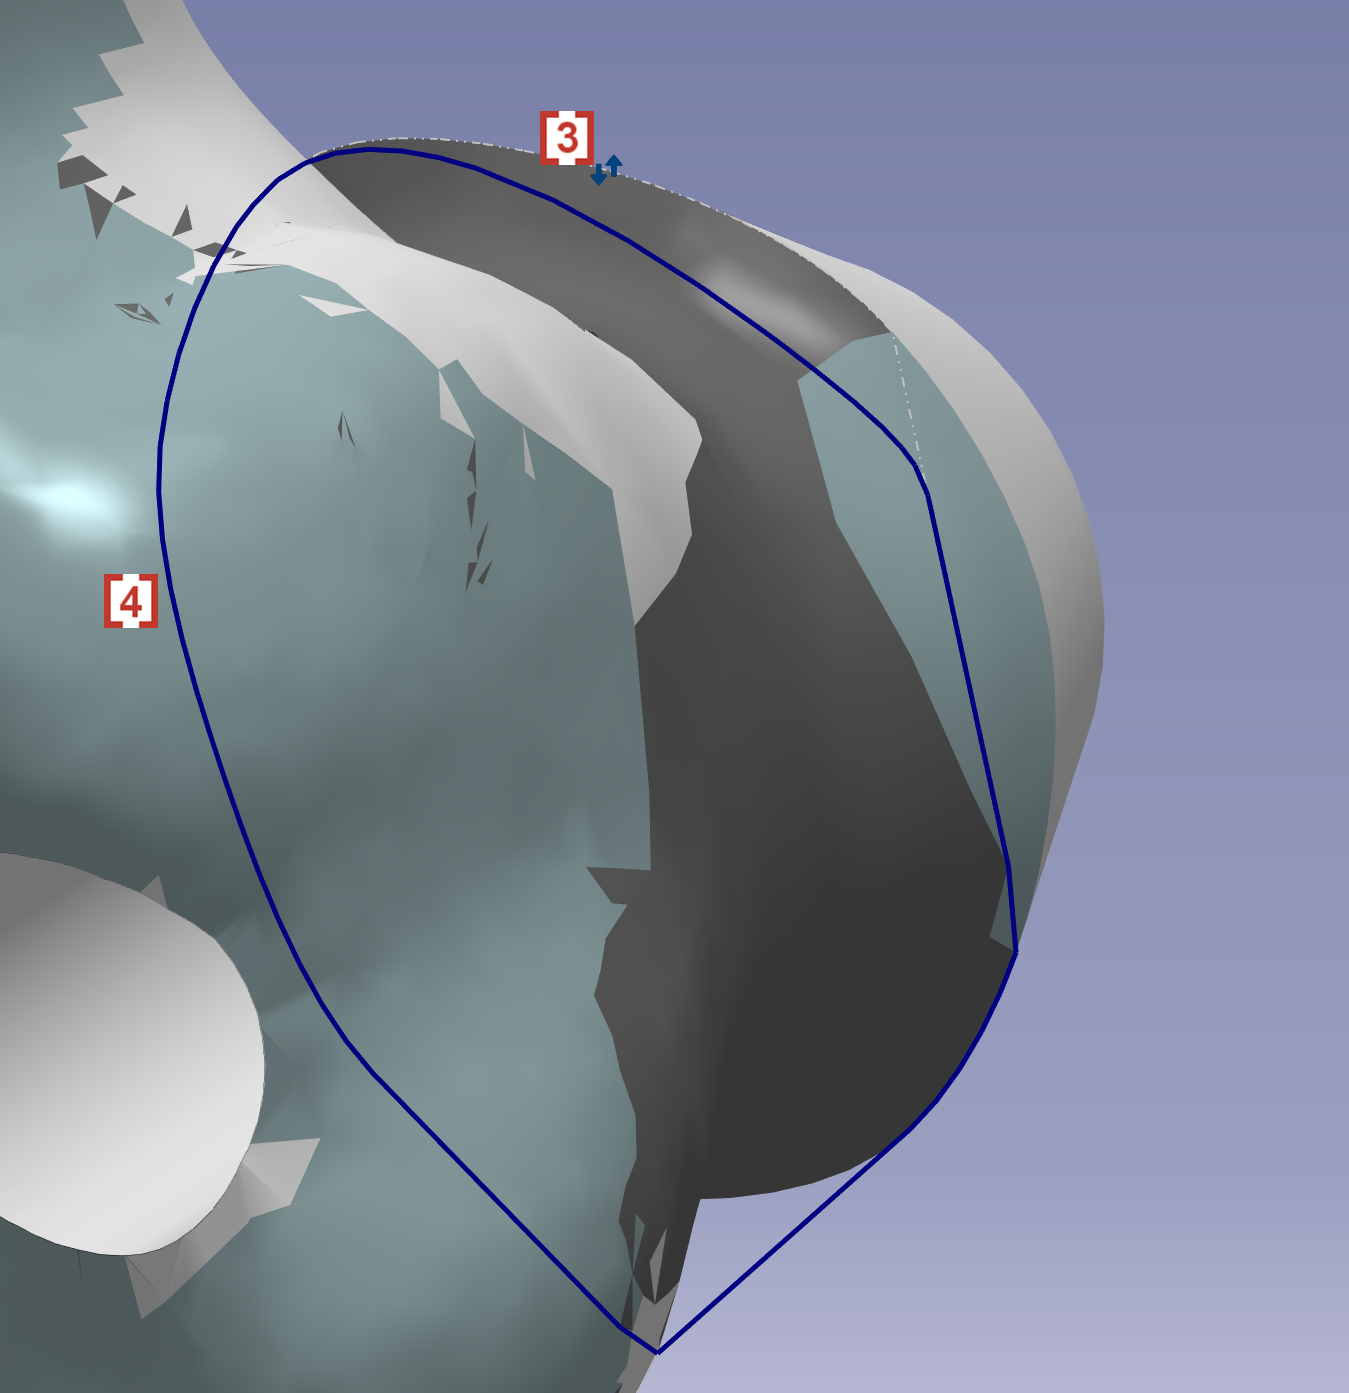
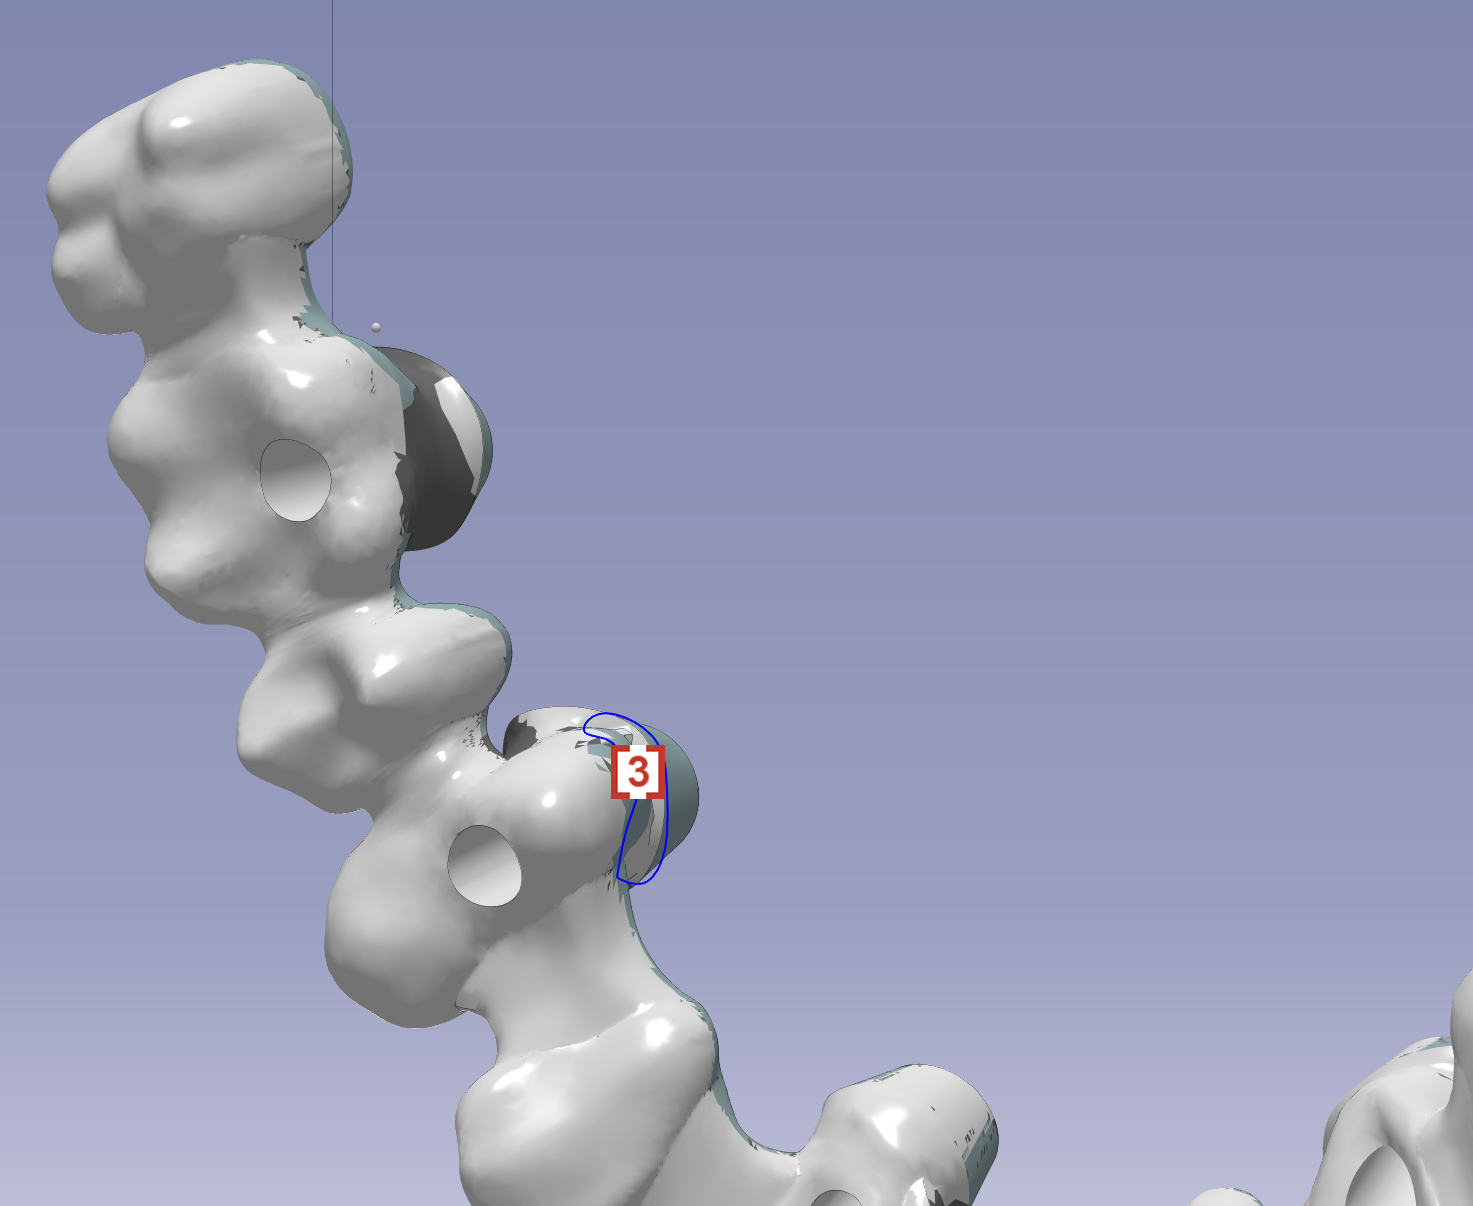
After this, we will automatically enlarge the offset [1] to avoid collision during the machining of undercut.

image-20230818-141100.png