Stock Creation
Dialogue of Creation
 | In V6.11, we have completely renewed the dialogue of Stock creation. This dialogue is similar in the 3 different situations:
Some icons will appear depending on which environment (Milling/Turning/Swiss Machine/Wire EDM) you are working in. |
Milling and Wire-cut EDM Parts | ||
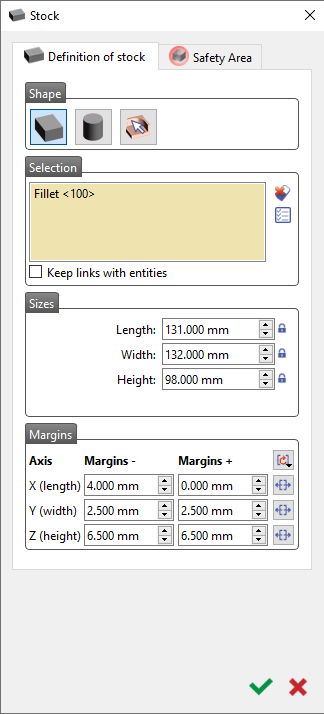 | 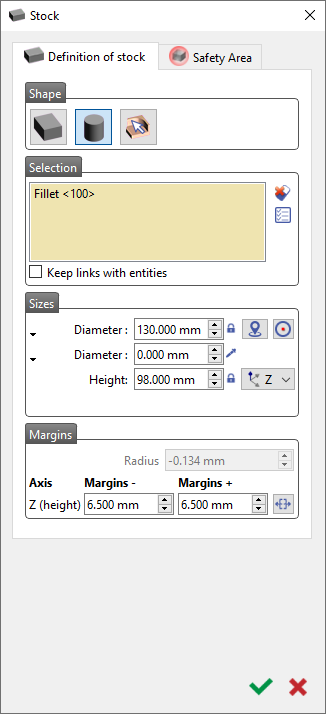 | 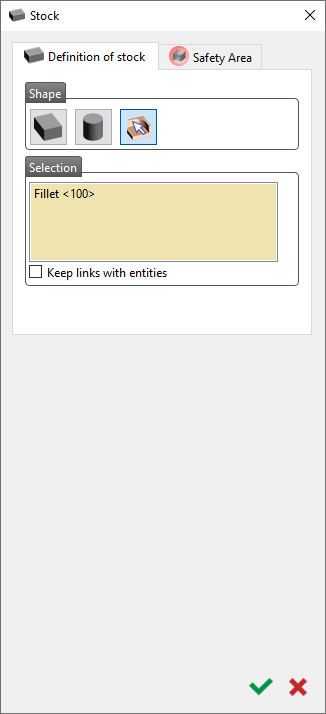 |
Turning Parts | ||
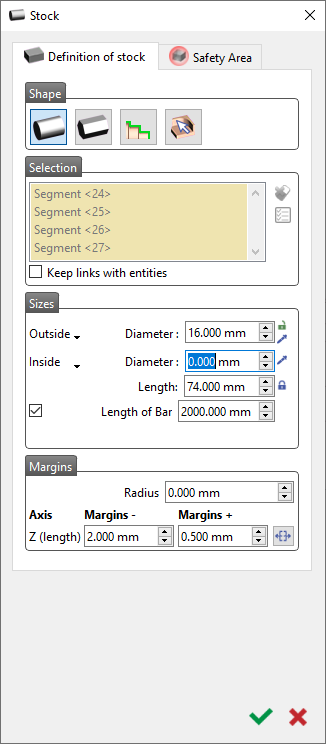 | 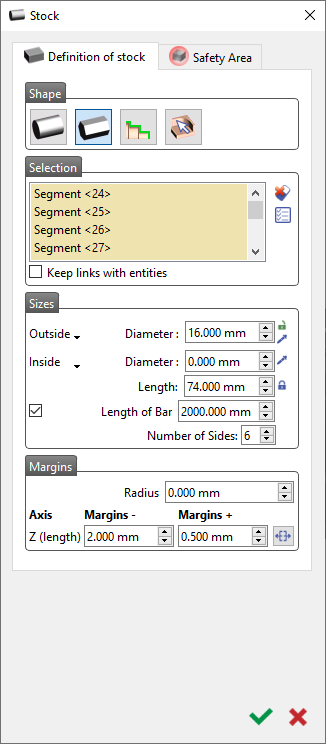 | |
Options of Creation
Shape of Stock | ||
 | Cubic (Milling & Wire-cut EDM) | You can choose the shape of the stock by clicking on this icon. The physical shape of the stock is now displayed in the combo box. For the cylinder, you also have the ability to define a cylinder as a tube, by defining a value for the inner diameter |
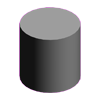 | Cylinder (Milling & Wire-cut EDM) | |
 | From Existing Solid (All) | You can create a stock by clicking on a solid if you select this option. |
 | Cylindrical (Turning) | The cylinder bar can also be defined as a tube by defining a value for the inner diameter. |
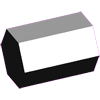 | N sides (Turning) | Create a stock bar with N number of sides for instance, with a hexagonal face. |
 | By selecting a profile (Turning) | Define the stock by selection of profiles to have a distinct shape. |
Selection | ||
Keep links with entities | We can also maintain the links with the selection. So, if the geometry is modified, then the stock will be automatically recalculated. | |
 | Delete all | We clear all selection using the ‘Delete all’ button |
 | Select everything visible | Use to select any geometry visible on the screen. |
Sizes | ||
Dimensions | When your stock is known, you can input the dimensions in terms of length, width, height and diameter/radius(Inside/Outside), Length of Bar, Number of sides( for N sides stock) | |
 | Redefine manually the center | To define any point of the stock to be the center. |
 | Center Automatically | To automatically define the center of the stock. |
 | Lock dimensions | Help to keep same dimension while editing margins. |
Margins | ||
Margins(-/+) | Margins enables the creation of the stock by an offset of the bounding box of the geometry. | |
 | Identical margins for X and Y | This a button available to input identical values for the X and Y margins. |
 | Center the margins | When any of the axes dimensions are locked, you can utilize the 'Center the Margins' button to ensure equal margins for the corresponding locked axis. |
Safety Area | ||
 | By clicking on this option, a dialog box appears where you can set parameters for a safe envelope. | |
 | In Milling, Cylindric stock can be tube shapes, thanks to the possibility of defining a inner diameter value. |
 | Edit Stock: We now allow margin modification when stock was created without history |
Sample Videos
3 videos with different situations are offered:
creation of stock on 2D geometry, here a DXF file imported. Focus on Selection of elements and creation of stock by margins.
creation of a stock during the automatic solid import. Focus on creation of cylindric stock by its dimensions.
creation of stock in turning. Focus on the concept of ‘keep links with entities’, definition of Safety Area and modification of geometry.
Special case: Cast Stock
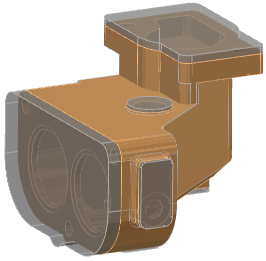 | There are two possibilities to define a cast stock:
|


